DIY Christmas Finger Puppets (Free Patterns)
This post contains affiliate links, which means I may earn a small commission at no additional cost to you if you click through the link and make a purchase. For more information, click here.
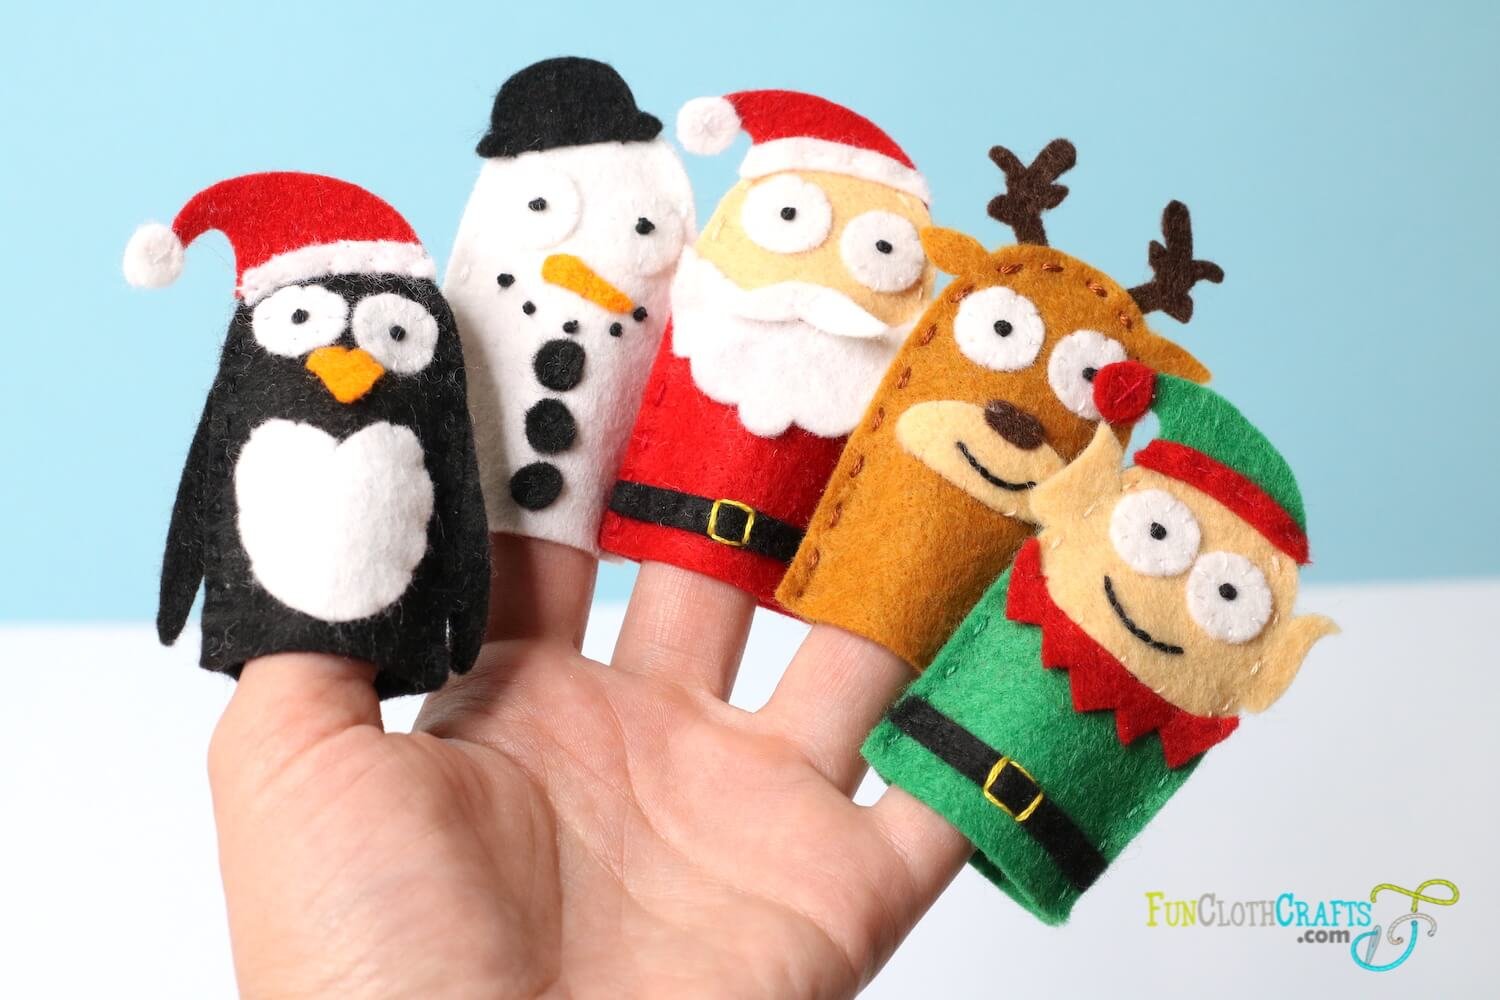
Do you want to make a homemade Christmas present for kids? Then, why not try Christmas puppet craft! Follow the tutorial, use the free template, and sew your DIY Christmas finger puppets. The Christmas finger puppet set includes a free pattern for Reindeer, Snowman, Santa, Elf, and Penguin finger puppets. If you want to craft more Christmas felt crafts, visit DIY Felt Gingerbread House, which also includes free patterns.
I hope you enjoy crafting with me, and if you are looking for more free felt patterns, visit my Freebies section.
Happy Holidays Crafting!
Looking for more felt Christmas crafts? You can craft your felt gingerbread house ornaments using the detailed tutorial and the 3-in-1 free pattern, which includes gingerbread house felt board, ornament, and easy gingerbread house kids’ craft.
Explore the 37 DIY felt ornament patterns in the round-up post. These adorable patterns will bring a festive charm to your Christmas tree or make charming Christmas gifts.

General Instructions for Christmas Finger Puppets
These Christmas felt finger puppets are easy to make. They are stitched entirely by hand, using a running stitch, cross stitch, backstitch, French knot, and whip stitch. Are you looking for help with embroidery stitches? Visit 9 hand embroidery stitches for felt to learn more about each stitch.
Bellow, follow the step-by-step instructions on how to make Christmas puppets. The finished puppets are approximately 3” (7,5 cm) tall. The Christmas puppets are made from scraps of felt. I recommend using wool blend felt as it’s the easiest to work with. However, craft felt is also possible.
Note that finger puppets are not recommended for children under the age of 3.
Three-strand, two-strand, and one-strand embroidery floss are used to embroider the Christmas felt puppet. Knot thread ends on the wrong side of felt.
Tips for Sewing with Felt
TIP for holding pieces in place for sewing: Felt pieces can be pinned to the body shape to hold them in place until they are stitched.
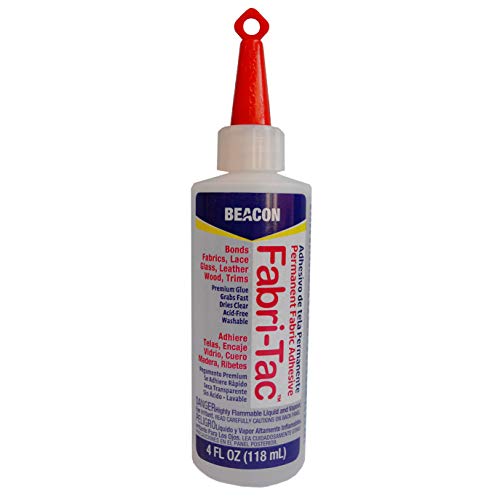
Another option is to place a tiny dab of instant dry fabric glue on the reverse side of felt shapes and position them on the puppet’s body. I use Beacon Fabri-Tac glue. Find the best glue for your felt project in How to glue felt.
TIP for sewing with felt: Searching for more information about sewing with felt? Visit my post on how to sew felt. You learn about different types of felt, needles, and thread to use when sewing with felt and more tips for working with felt.
TIP for cutting felt shapes: If you like to learn tips on how to cut out felt pieces, you can read my post about 6 techniques for cutting felt shapes.
TIP for tracing on felt: You are welcome to read how to trace on felt post to learn more about transferring the pattern on felt for embroidery.

Christmas Finger Puppets with Free Pattern
Materials & Supplies for Christmas Finger Puppets
Christmas finger puppets free template - to download the file, subscribe to the FunClothCrafts newsletter. In the newsletter, you find a password to the subscriber's Free Downloads Vault
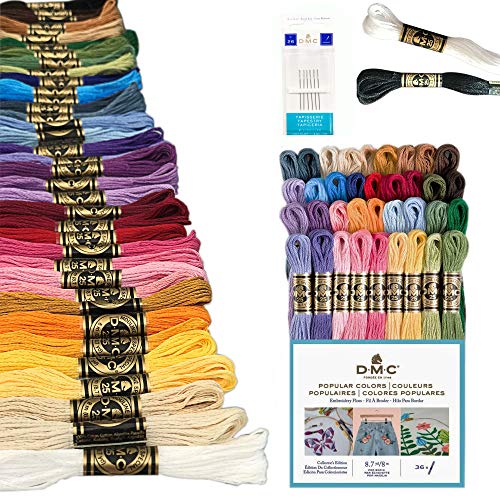
felt scraps (find great felt at Benzie Design or find more buying options in the Types of Felt section of How to Sew Felt blog post): colors you choose to make the Christmas finger puppets, white for eyes
embroidery floss: matching colors to the darker tone of felt, black, white
small or embroidery scissors (KAI 5 1/2 inch Embroidery Scissors are the ones I use)
pins (optional - these are my favorites)
a glue that works on felt (optional - Beacon Fabri-Tac glue works well)
freezer paper (optional - Check out my tutorial to learn how to use freezer paper for cutting precise shapes from felt)
iron (optional - if you cut felt with freezer paper: I use Rowenta travel iron)

How to Make a Christmas Finger Puppet?
In this tutorial, you find step-by-step instructions on how to make Christmas puppets. Follow the steps to make Penguin, Reindeer, Snowman, Elf, and Santa finger puppets. The reindeer finger puppet is the easiest to make. Elf and Santa finger puppets are more complex to make.
Penguin Finger Puppet
Use the Christmas finger puppet template to cut out all Penguin finger puppet shapes from felt.

2. Pin or hold two circles for eyes to the front of body shape, following the template. With one-strand embroidery floss, sew a straight stitch around the edges of the eyes to attach it. I do eight stitches.

3. Using the French knot, embroider the eye pupils with three-strands of black embroidery thread. I wrapped the thread 3 times around my needle to make the knot more significant. The pupil should be in the middle of the eye.

4. Hold the bill shape in place as per template. Sew three stitches on upper edge of the shape.

5. Hold the belly shape in place as per the free template. Sew whip stitch around the shape.

6. Pin the front and back finger puppet body before sewing. I keep the pins in for the first couple of stitches, and then I take them out. Sew the running stitch close to the edge.

Cut felt shapes for the red hat. Sew the pom pom with cross stitch. Continue with sewing the hat to the penguin finger puppet. Use whip stitch or running stitch on the bottom edge. Last step is to sew the edge of the hat with running stitch.
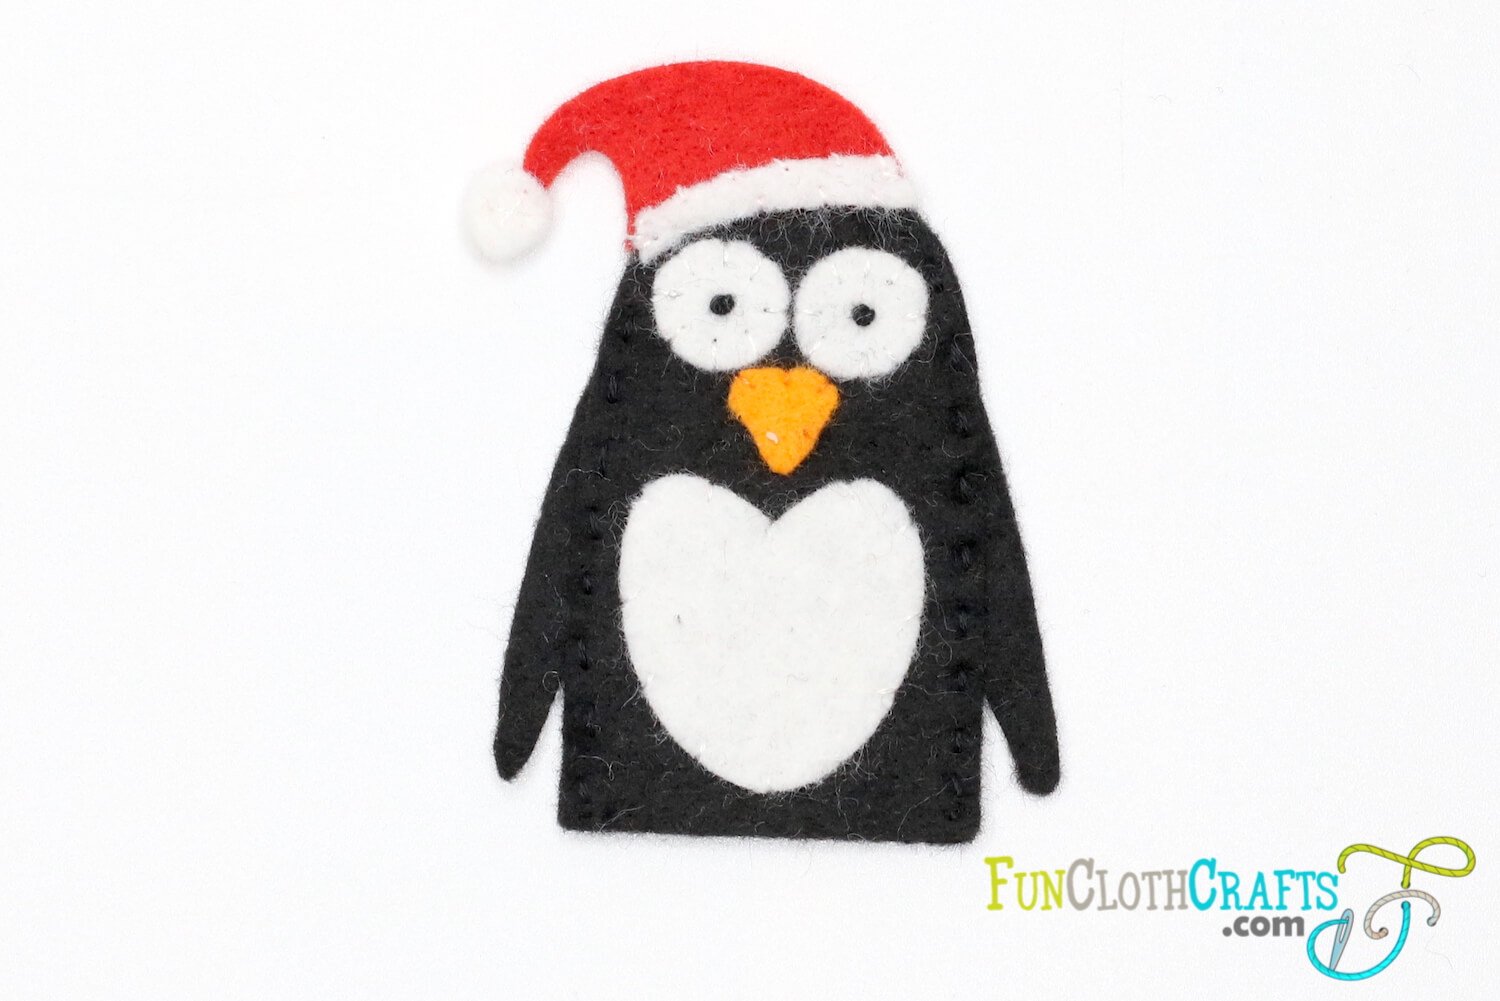
Penguin Finger Puppet with Christmas Hat
Note that I used whip stitch when sewing the edge of the hat. I think sewing it with running stitch is easier.
Reindeer Finger Puppet
Use the Christmas finger puppet free template to cut out all of the Reindeer shapes from felt.

2. Embroider the eyes on the white shape following the instructions for the penguin finger puppet.

3. Trace the mouth with pencil onto the muzzle. Embroider the mouth with backstitch.

4. Hold the muzzle in place as per template. Embroider it with running stitch.

5. Hold the nose in place as per template. Sew with four straight stitches around the shape.

6. Following the template, glue the antlers to the reindeer finger puppet’s back body.
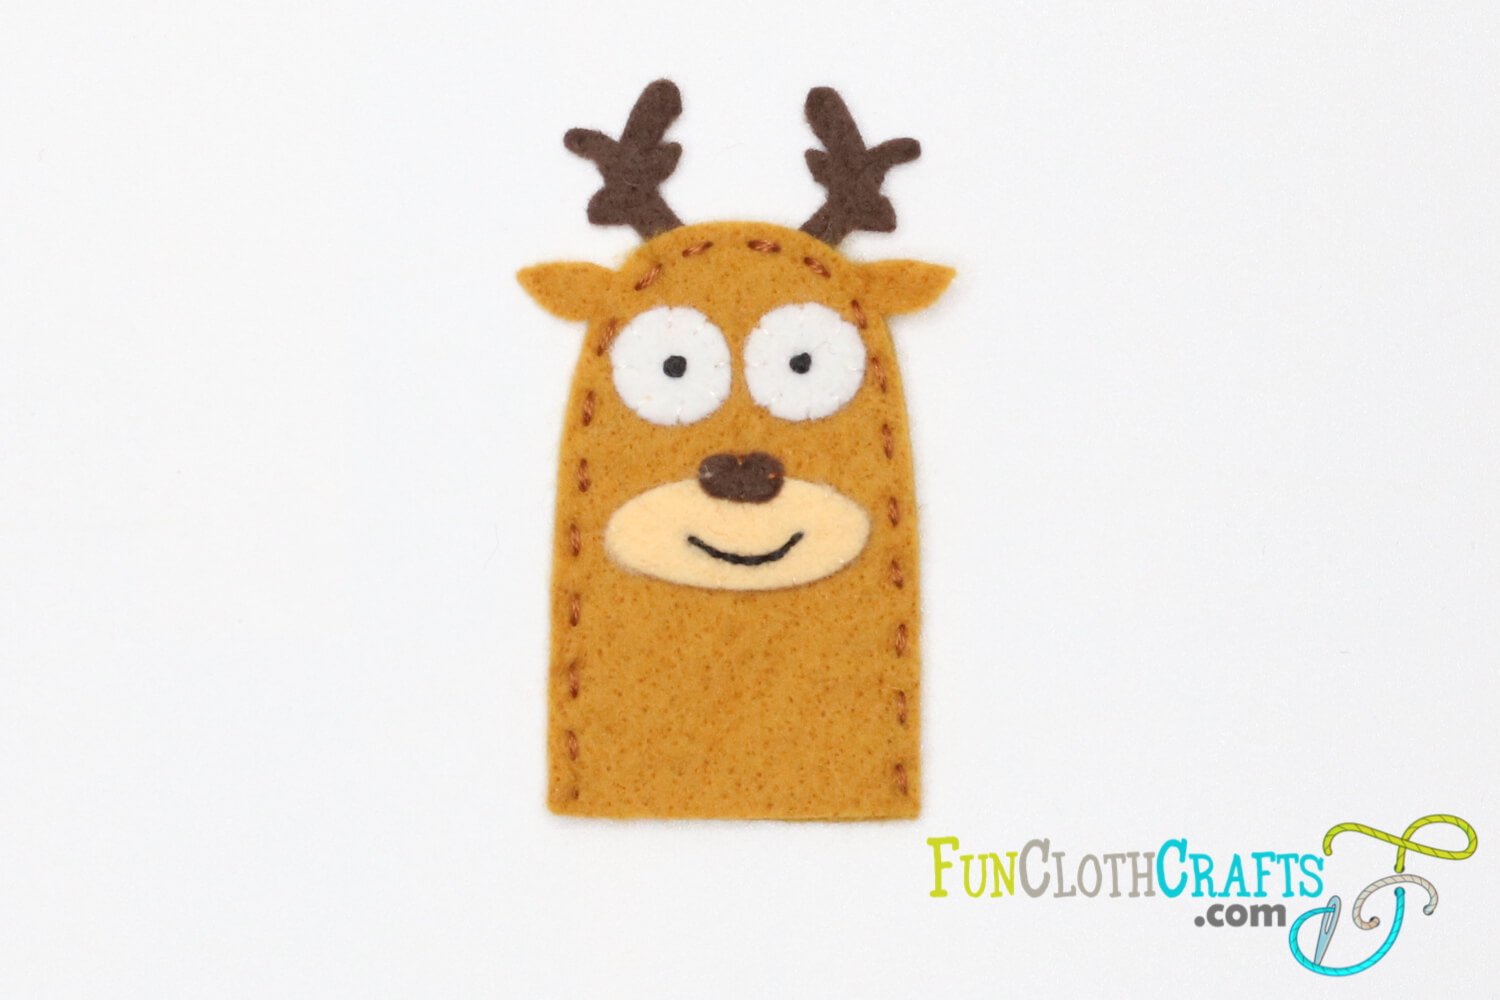
Reindeer Finger Puppet made with Fun Cloth Crafts free pattern is ready for its happy owner.
7. Place the reindeer finger puppet’s front and back together and begin joining the pieces with a running stitch close to the edge.
Snowman Finger Puppets
Use the Christmas finger puppet free template to cut out all Snowman shapes from felt.

2. Embroider the eyes on the white shape following the instructions for the penguin finger puppet.

3. Hold the carrot nose shape in place as per template. Sew whip stitch around the shape.

4. Hold the black stones in place and sew each of them with cross stitch.

5. Embroider the mouth with five French knots. If you prefer, you can also keep the snowman without the mouth.

6. Place the snowman finger puppet’s front and back together and join the pieces with a running stitch close to the edge.

Snowman Finger Puppet
7. Sew the hat with whip stitch at the bottom edge.
Elf Finger Puppet
Use the Christmas finger puppet free template to cut out all Elf finger puppet shapes from felt.

2. Embroider the eyes following the instructions of the penguin finger puppet.

3. Trace the mouth with pencil onto the face. Embroider the mouth with backstitch.

4. Pin or hold the face onto the front body piece as per template. Embroider it on the bottom edge only with whip stitch.

5. Attach elf’s collar on the upper edge only with whip stitch.

6. Sew the belt with running stitch onto the elf’s front body piece (follow template).

7. Using yellow embroidery floss and three strands, embroider the buckle with four straight stitches.

8. Sew hat’s pom pom with cross stitch.

9. Place the elf finger puppet’s front and back together and begin joining the pieces with a running stitch close to the edge. Use green embroidery floss for the green part of elf’s body. Finish close to the face shape. Use face tone embroidery floss and sew the face part starting and finishing just below the collar.
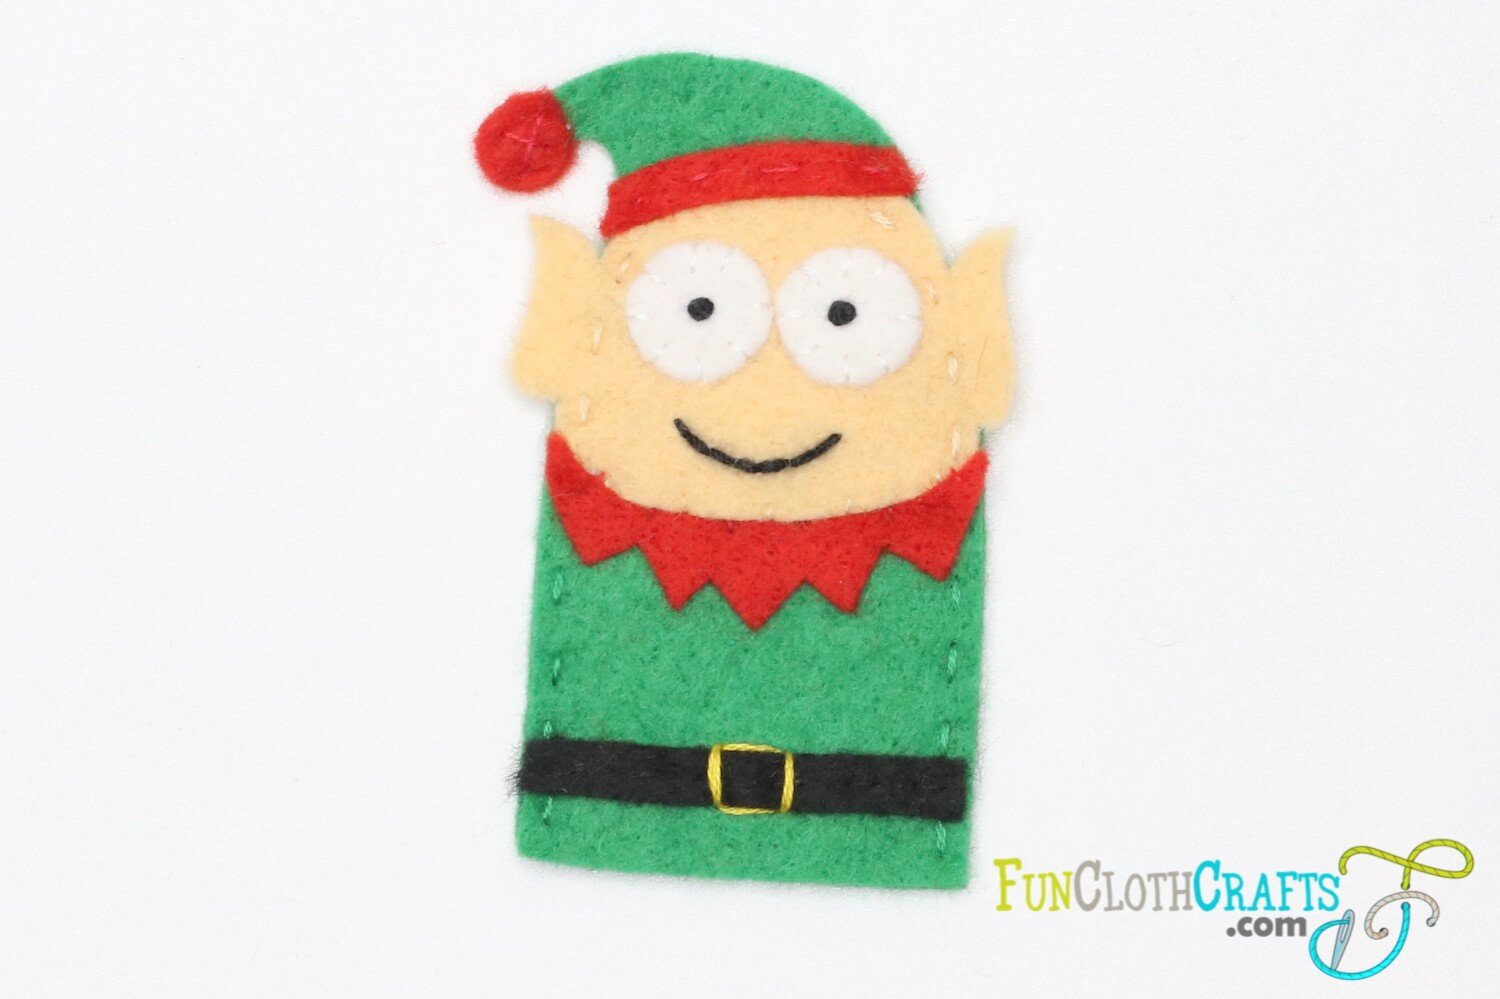
Elf Finger Puppet
11. Use running stitch to attach the edge of Elf’s hat.
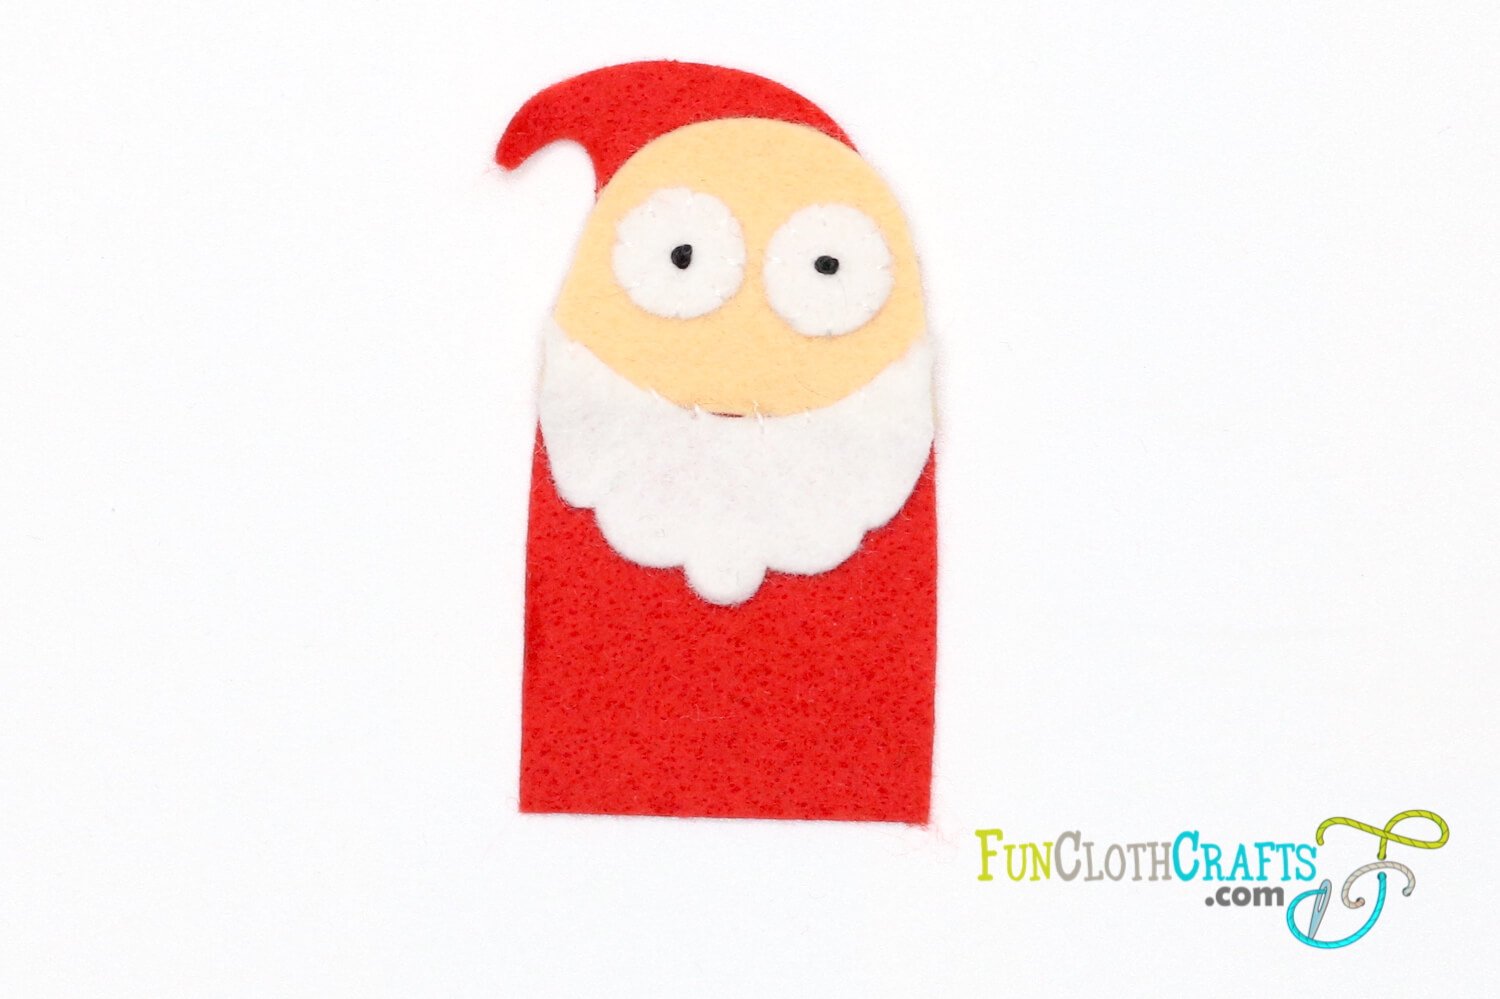
Santa Finger Puppet
Use the Christmas finger puppet free template to cut out all Santa finger puppet shapes from felt.

2. Sew the eyes following the instructions above.

3. Pin or hold the face onto the front body piece as per template. Embroider the bottom edge only with whip stitch.
4. Attach Santa’s beard with whip stitch on the upper edge only .

5. Attach the moustache with cross stitch.

6. Sew the belt with running stitch onto the Santa’s front body piece (follow template).

7. Using yellow embroidery floss and three strands, embroider the buckle with four straight stitches.

8. Sew hat’s pom pom with cross stitch.

9. Place the Santa finger puppet’s front and back together and begin joining the pieces with a running stitch close to the edge. Use red embroidery floss for the Santa’s coat. Finish close to the face shape. Use face tone embroidery floss and sew the face part starting and finishing just below the beard.

10. Use running stitch to attach the edge of Santa’s hat.

Santa Finger Puppet

Fun Cloth Crafts Christmas Finger Puppets with Free Pattern
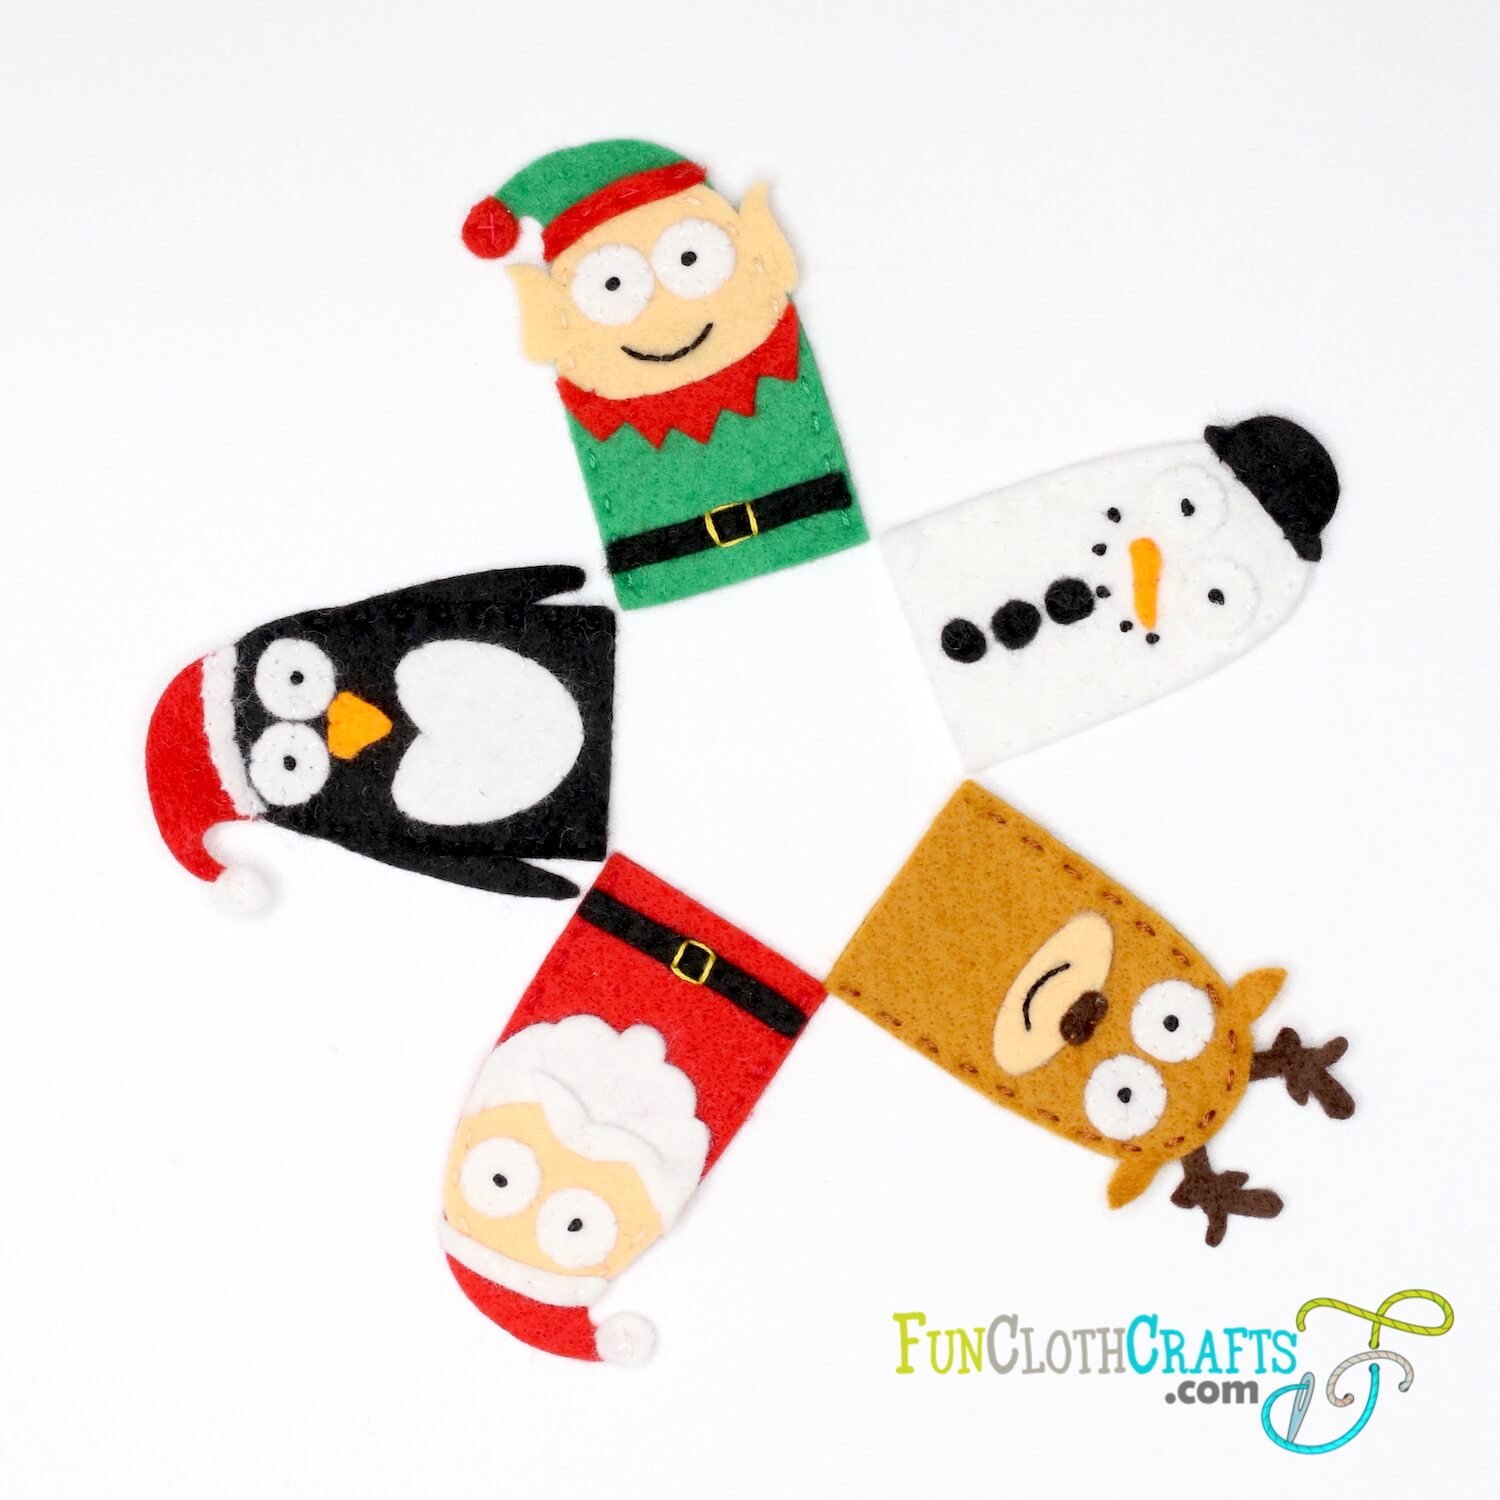
Christmas Finger Puppets with Free Pattern
To Wrap Up Christmas Felt Finger Puppets
Thank you for crafting with me! I would love to see your finished Christmas finger puppet project. If you share your Christmas puppets on social media please tag me #funclothcrafts so I see your lovely work. I welcome any feedback as it is important to make my products better. Don’t hesitate to contact me with your suggestions at anna@funclothcrafts.com.
Be sure to visit more on this website for free embroidery and sewing tips and tricks to help you out as you stitch my patterns. For free felt patterns visit my Freebies page.
Feel free to join my mailing list! You’ll receive updates on new patterns, the latest tips & tricks, and special promotions.
Let’s craft together!
XO, Anna