DIY: Felt Weather Board with Free Template
This post contains affiliate links, which means I may earn a small commission at no additional cost to you if you click through the link and make a purchase. For more information, click here.
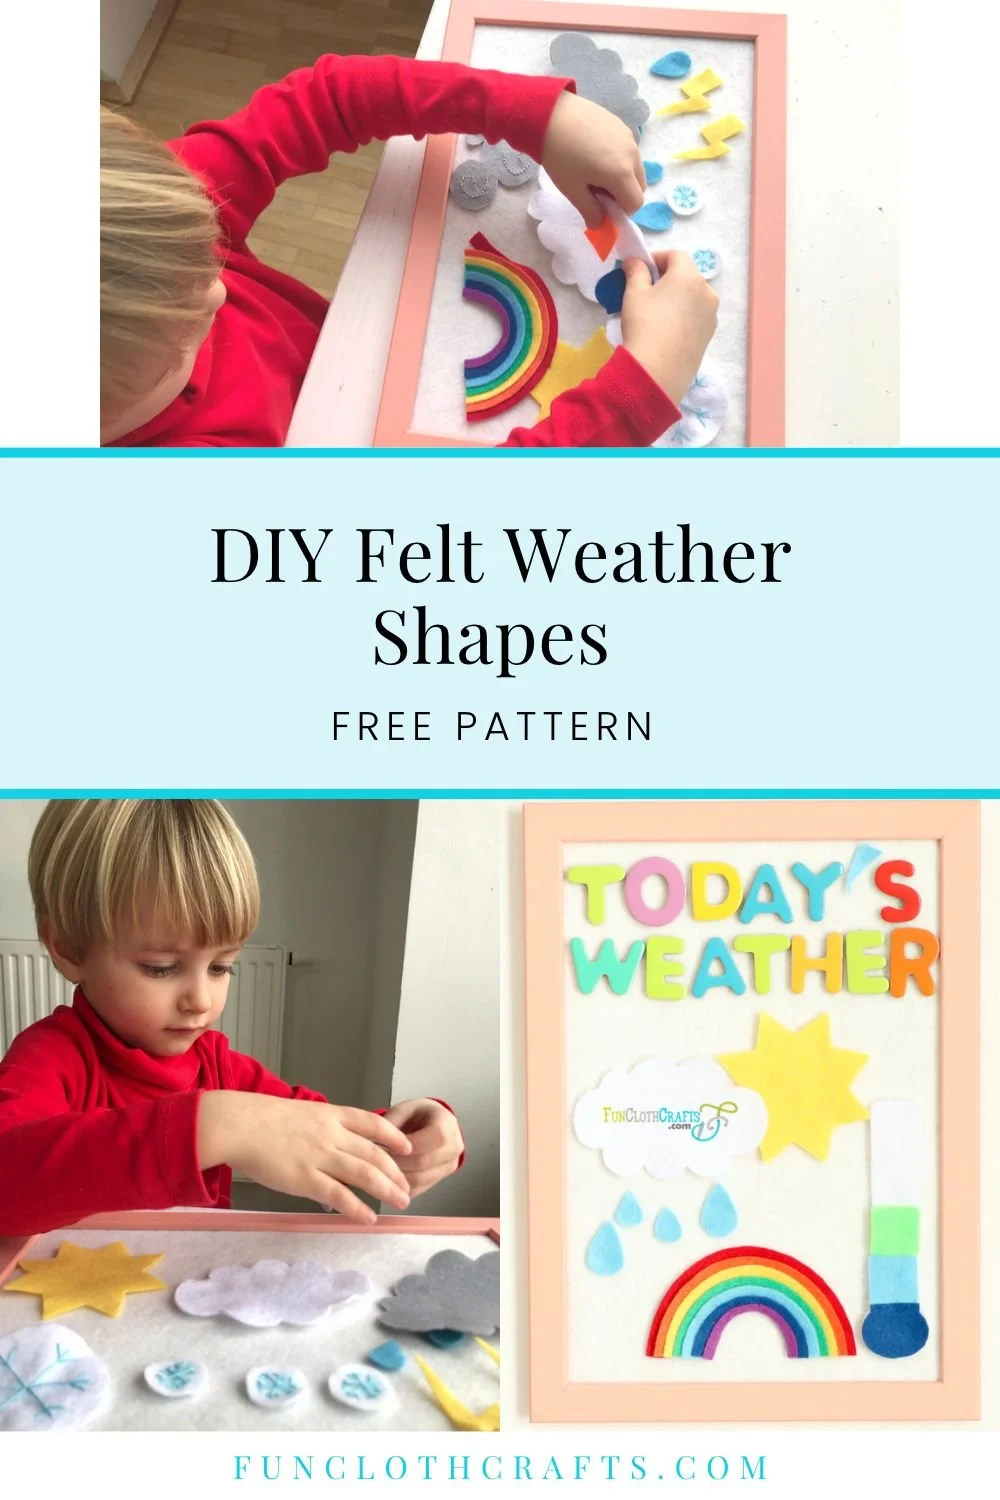
My son Lukas (like many children around the World) had to do homeschooling due to the COVID-19 pandemic. While challenging in many ways, that allowed me to actually see some of his first grade class activities. In one of those, they were learning about the weather. I immediately wondered how I could help him learn the weather vocabulary playfully. I sat down and started to draw various weather felt shapes. The most familiar elements such as the sun, cloud, wind, snow, and rain were the first to emerge. Later that day, I looked for the weather words on the Internet and realized that tornado and rainbow templates could be excellent additions to the pack. At all times, I tried to create easy but nice weather symbols sometimes by adding some little details. The completely free felt weather board template includes a sun, cloud, raindrops, snowflakes, wind, rainbow, tornado, lighting, and thermometer.
For more felt board patterns and activities visit Felt Board Ideas.
And if you are looking for advice on making a felt board? Visit my article and learn how to make an Easy DIY Felt Board.
Fun Cloth Crafts - Felt weather symbols felt board set with free pattern
This free felt weather set can be used in a variety of ways;
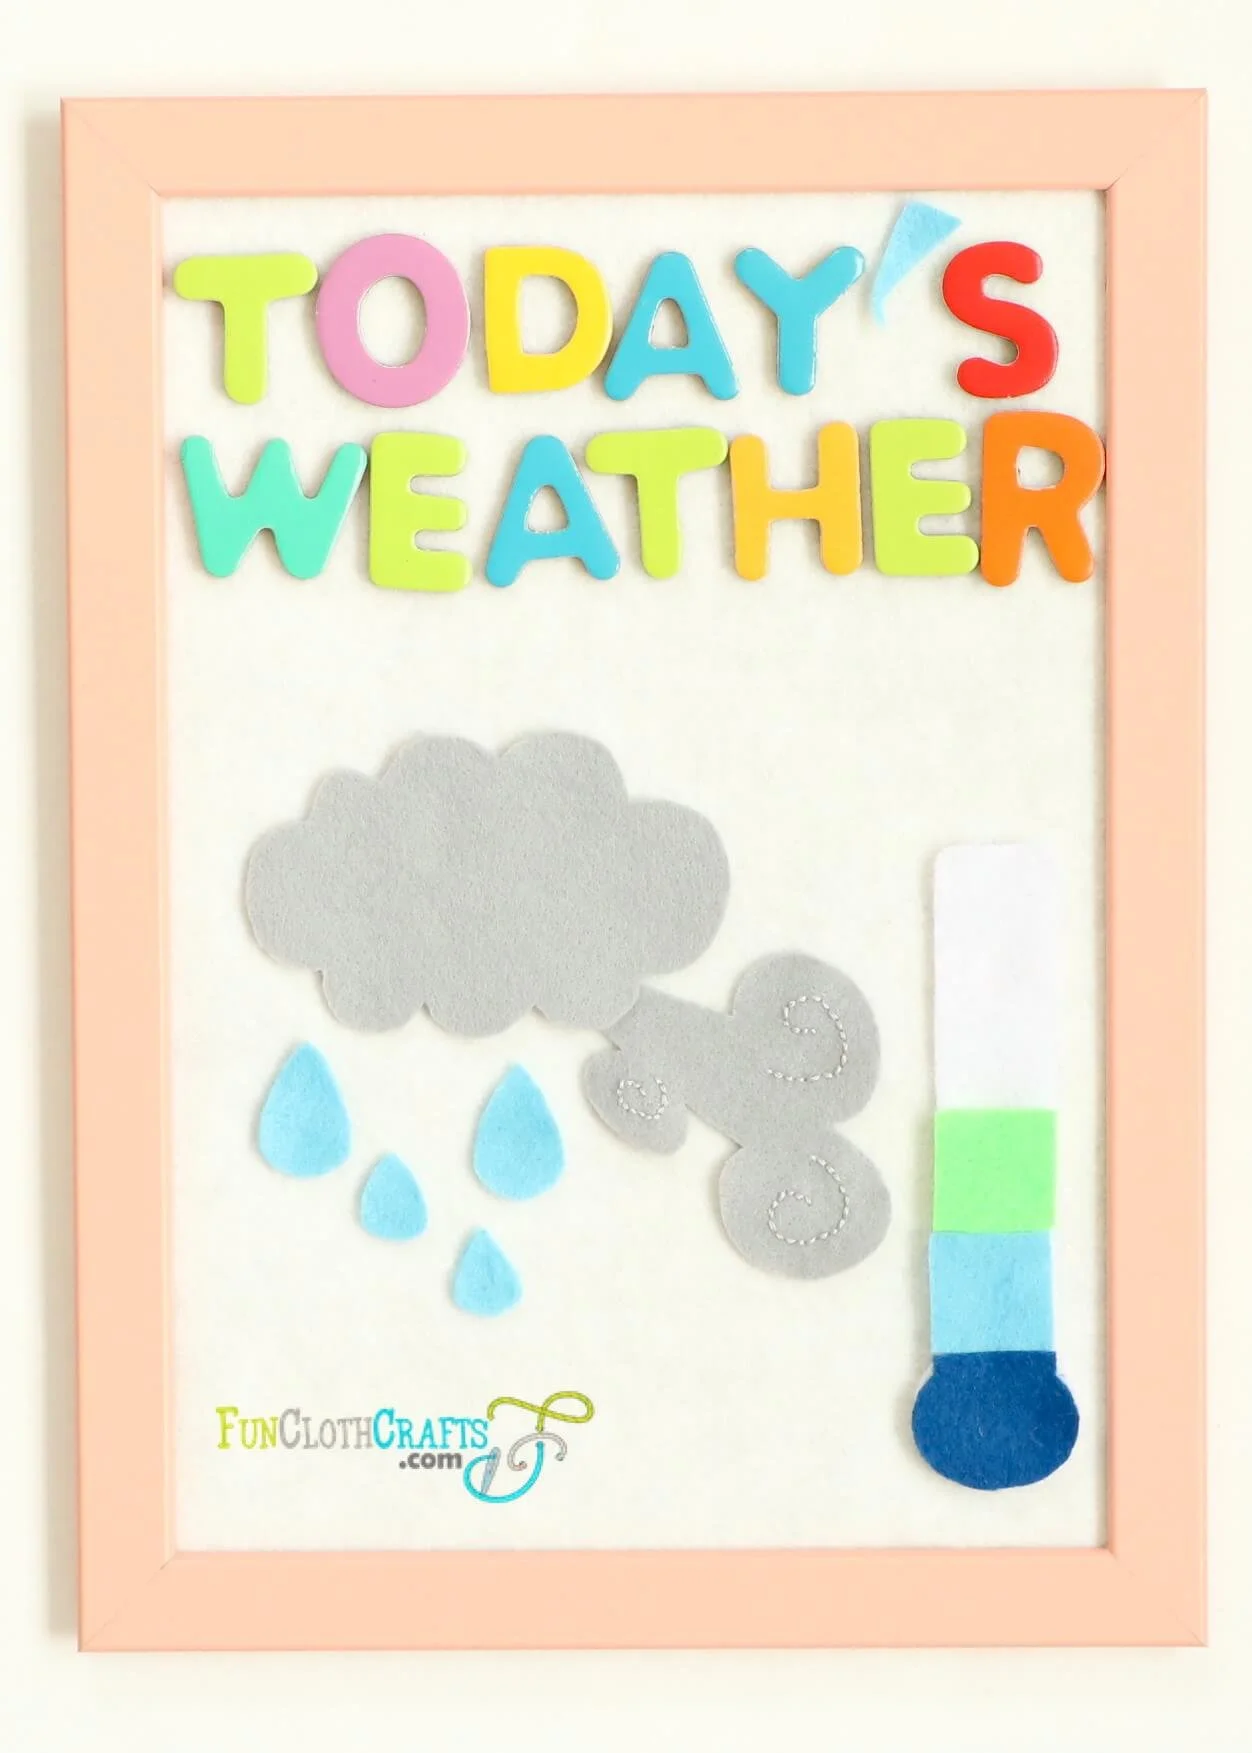
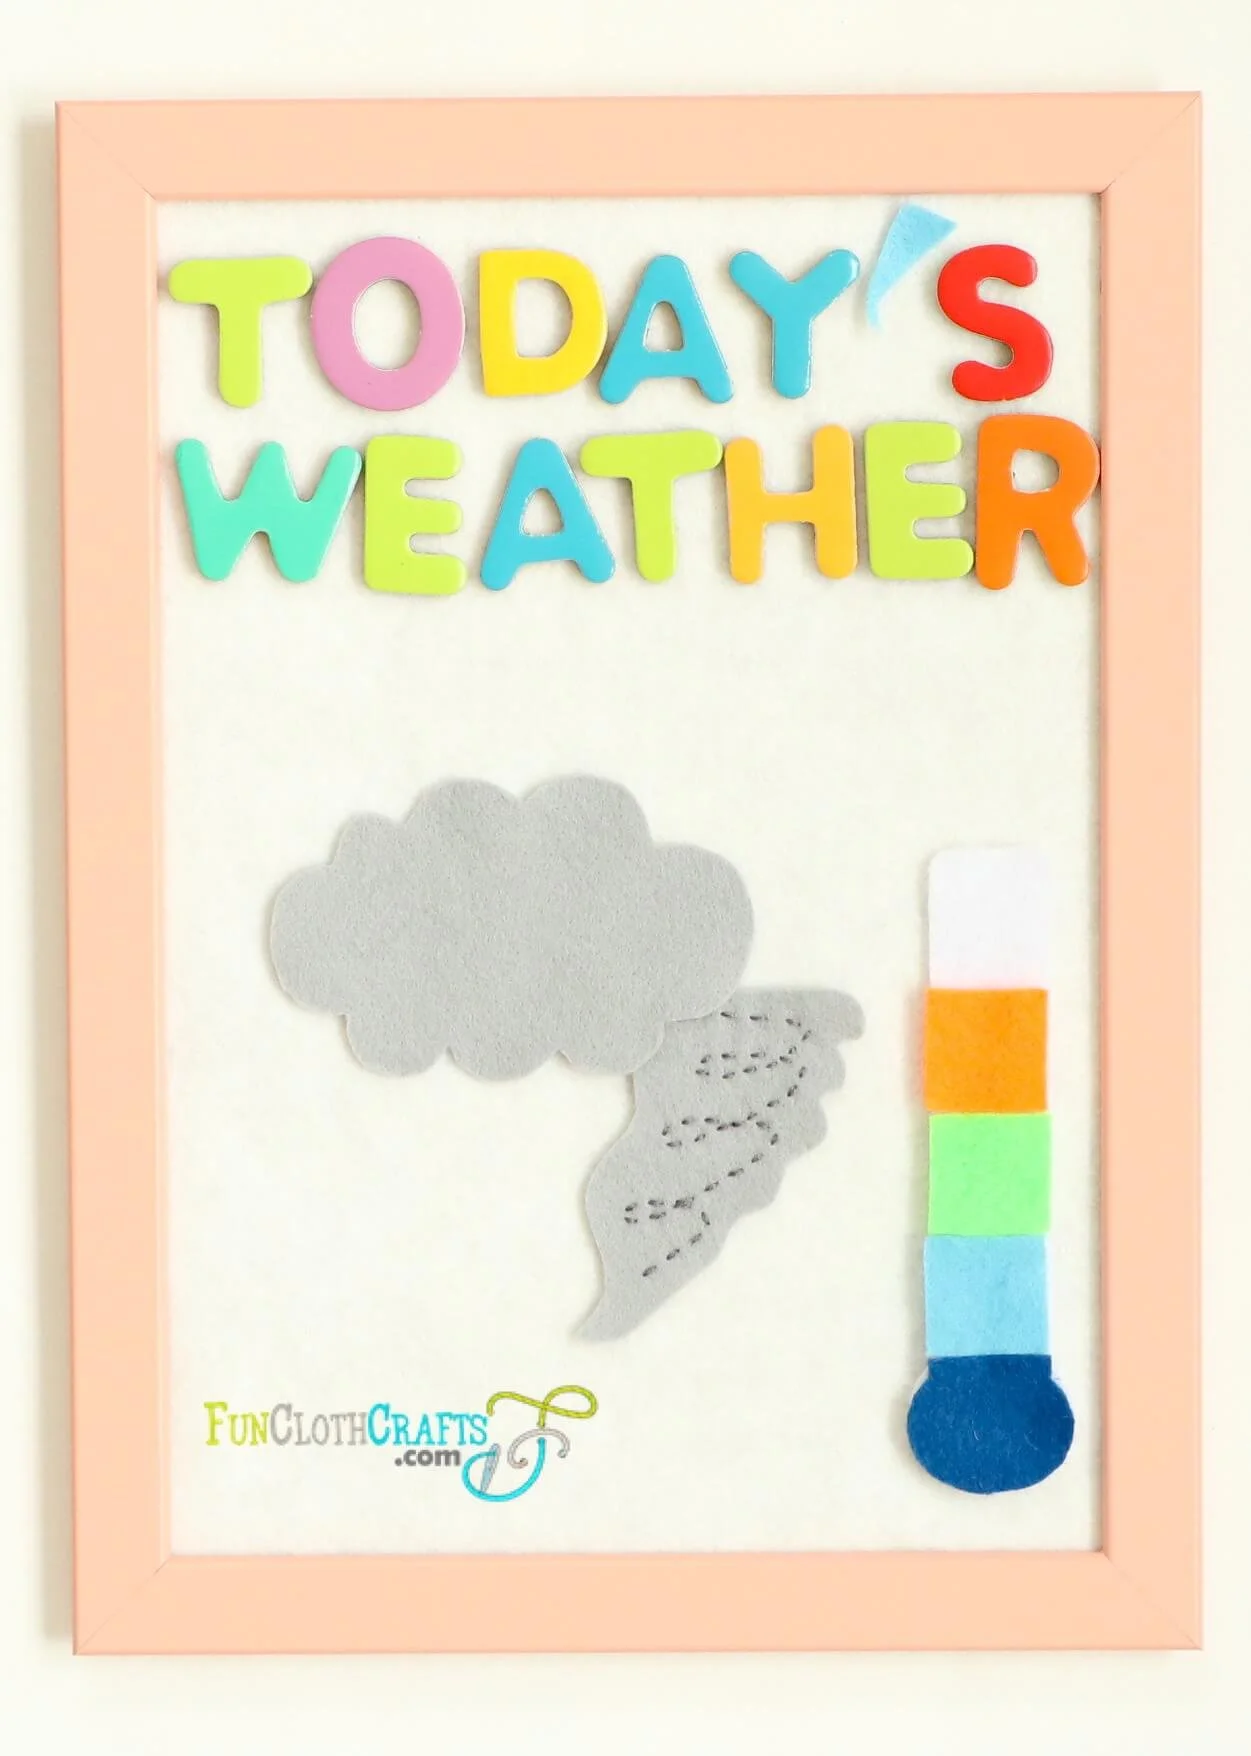
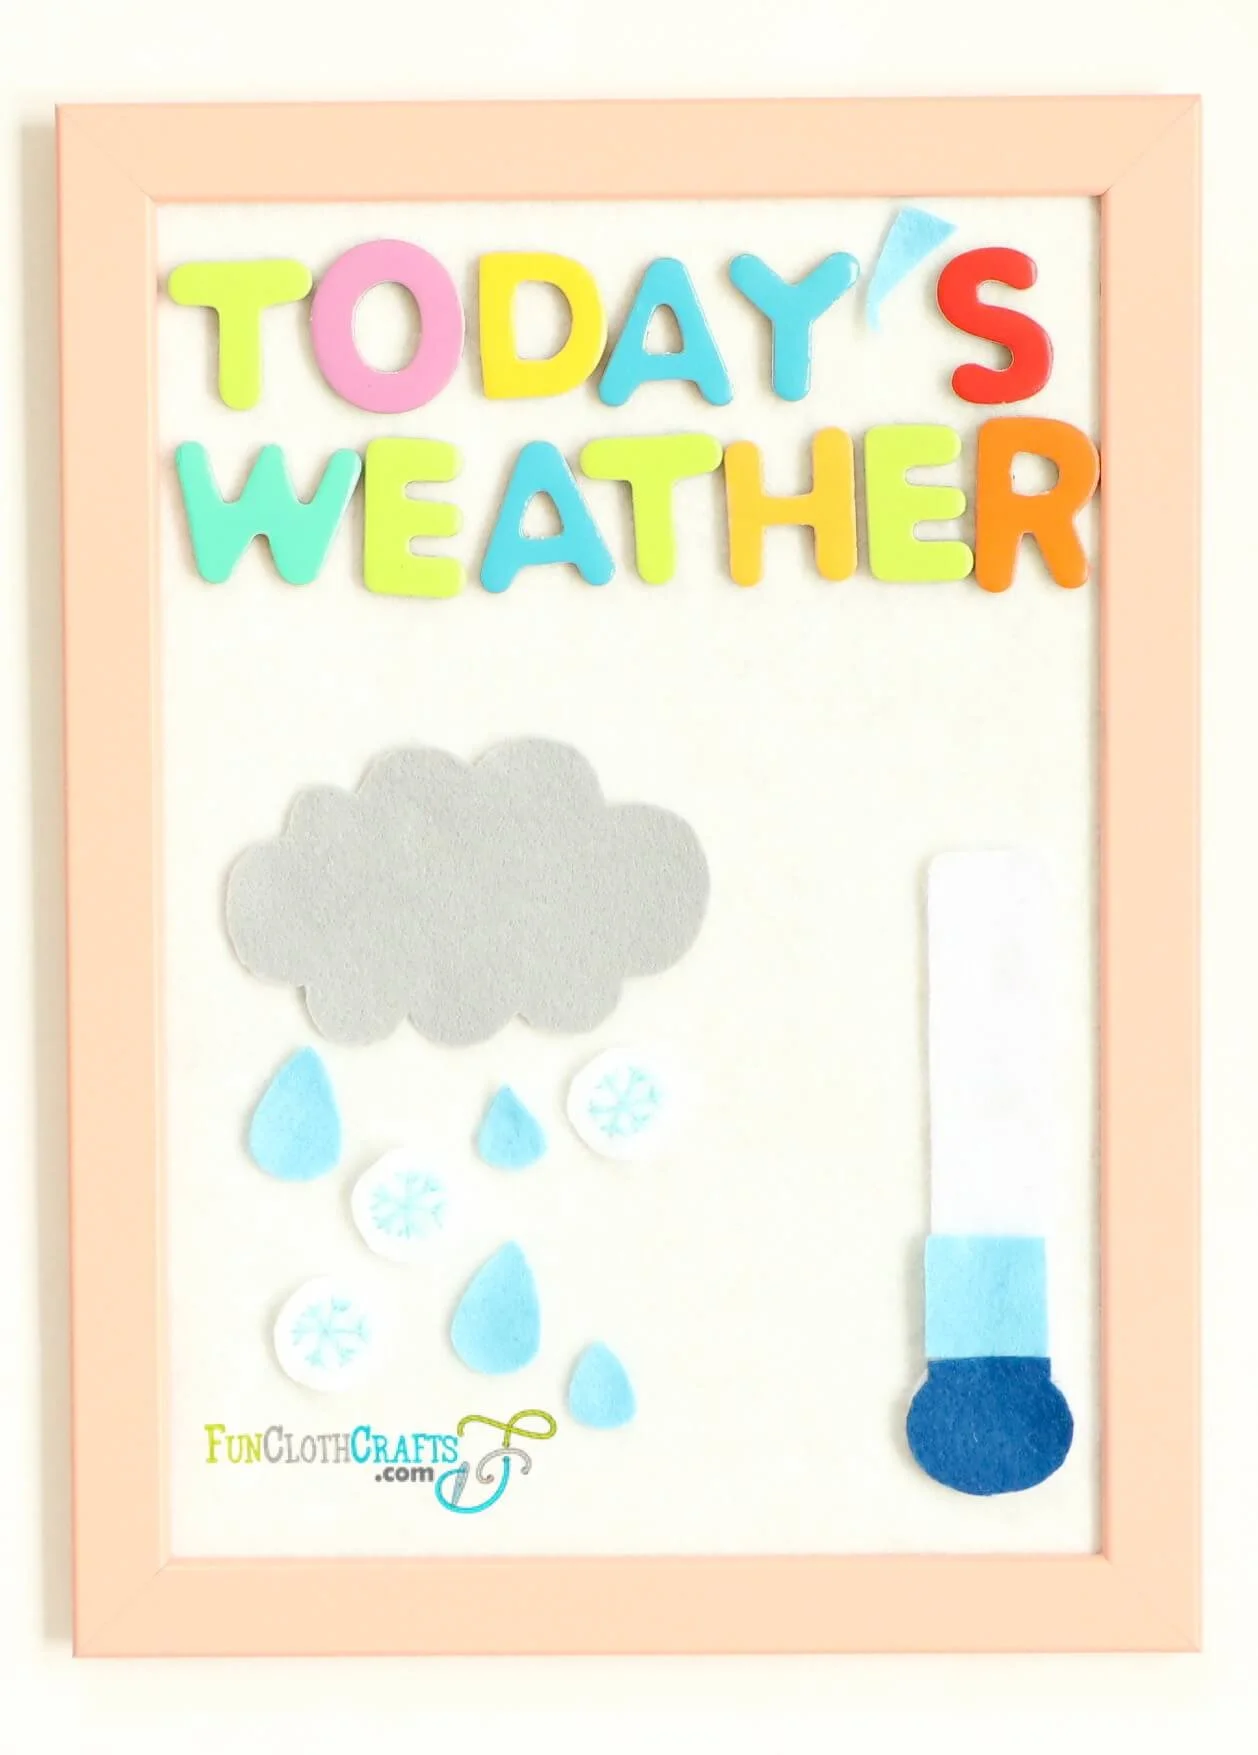
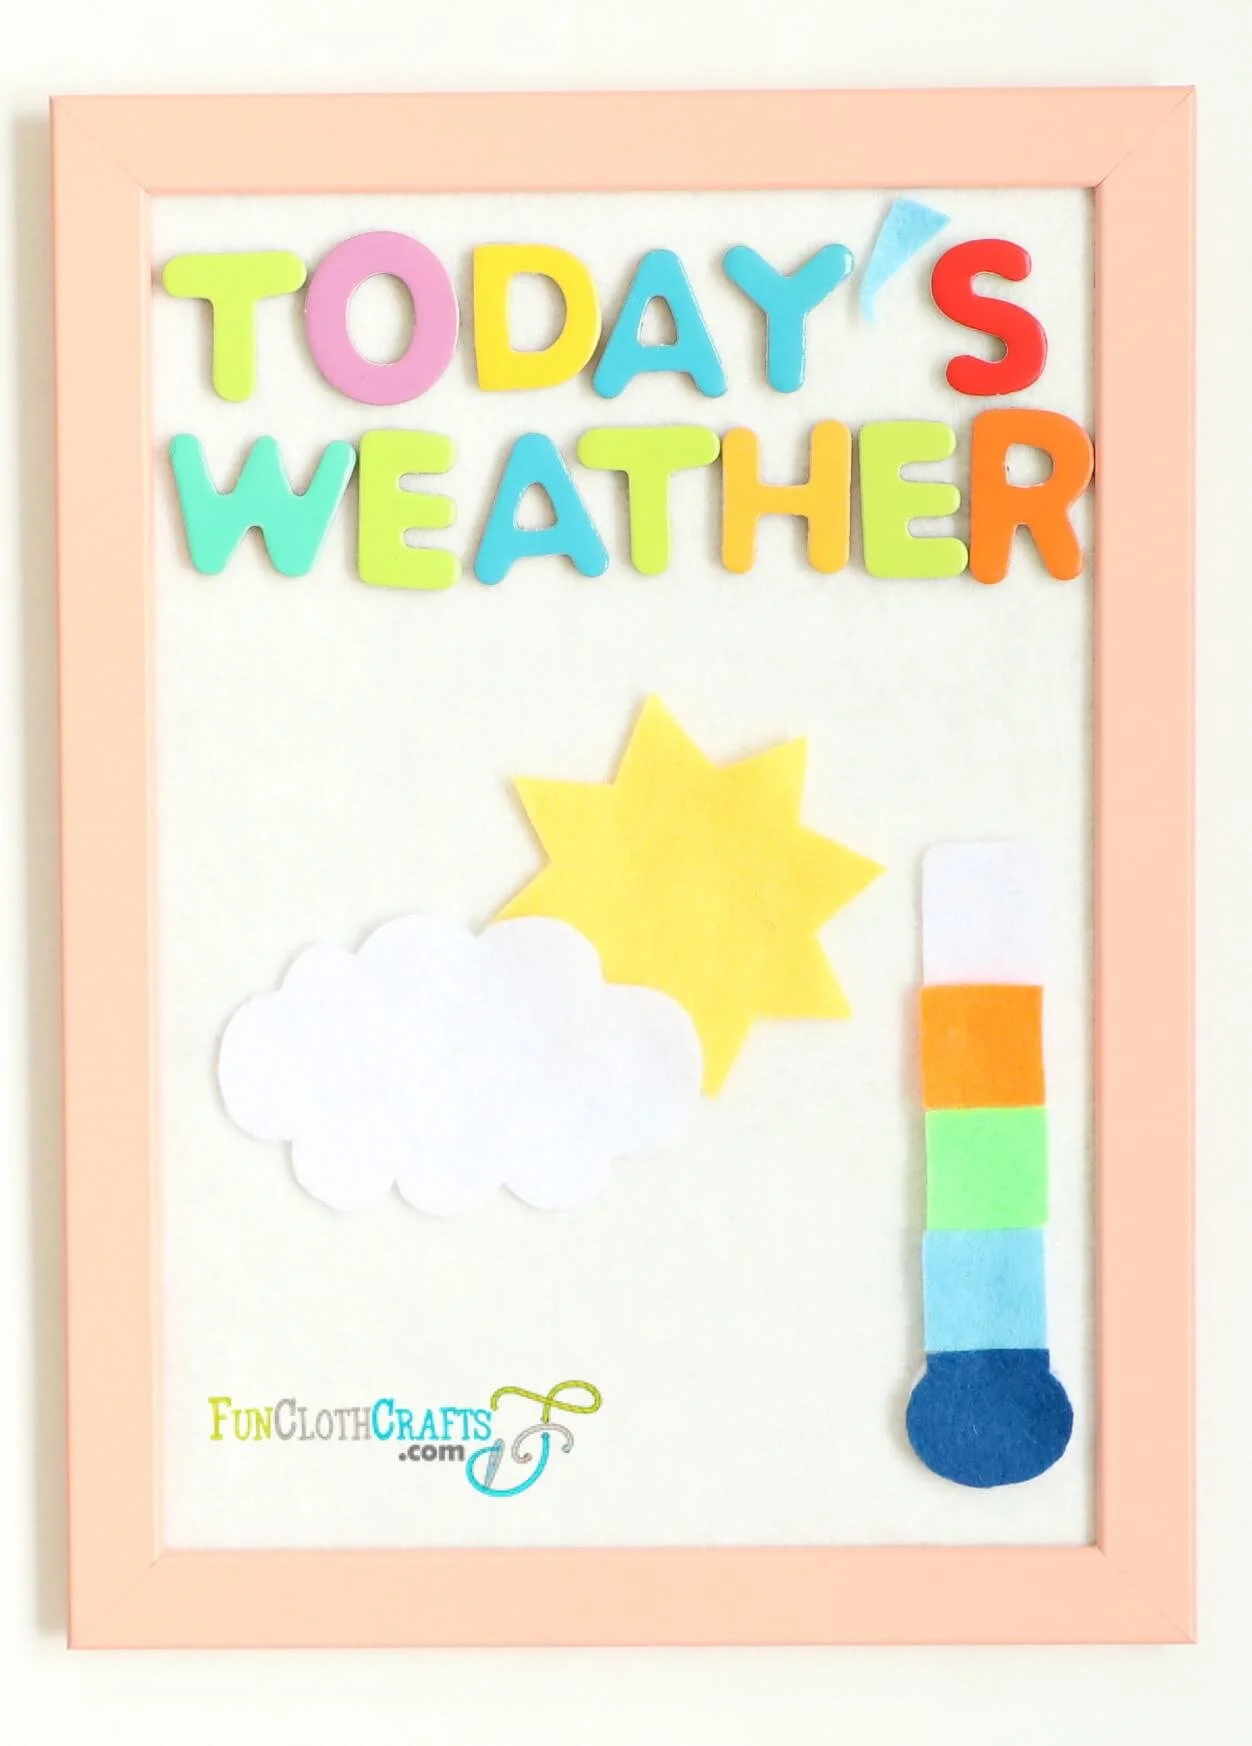
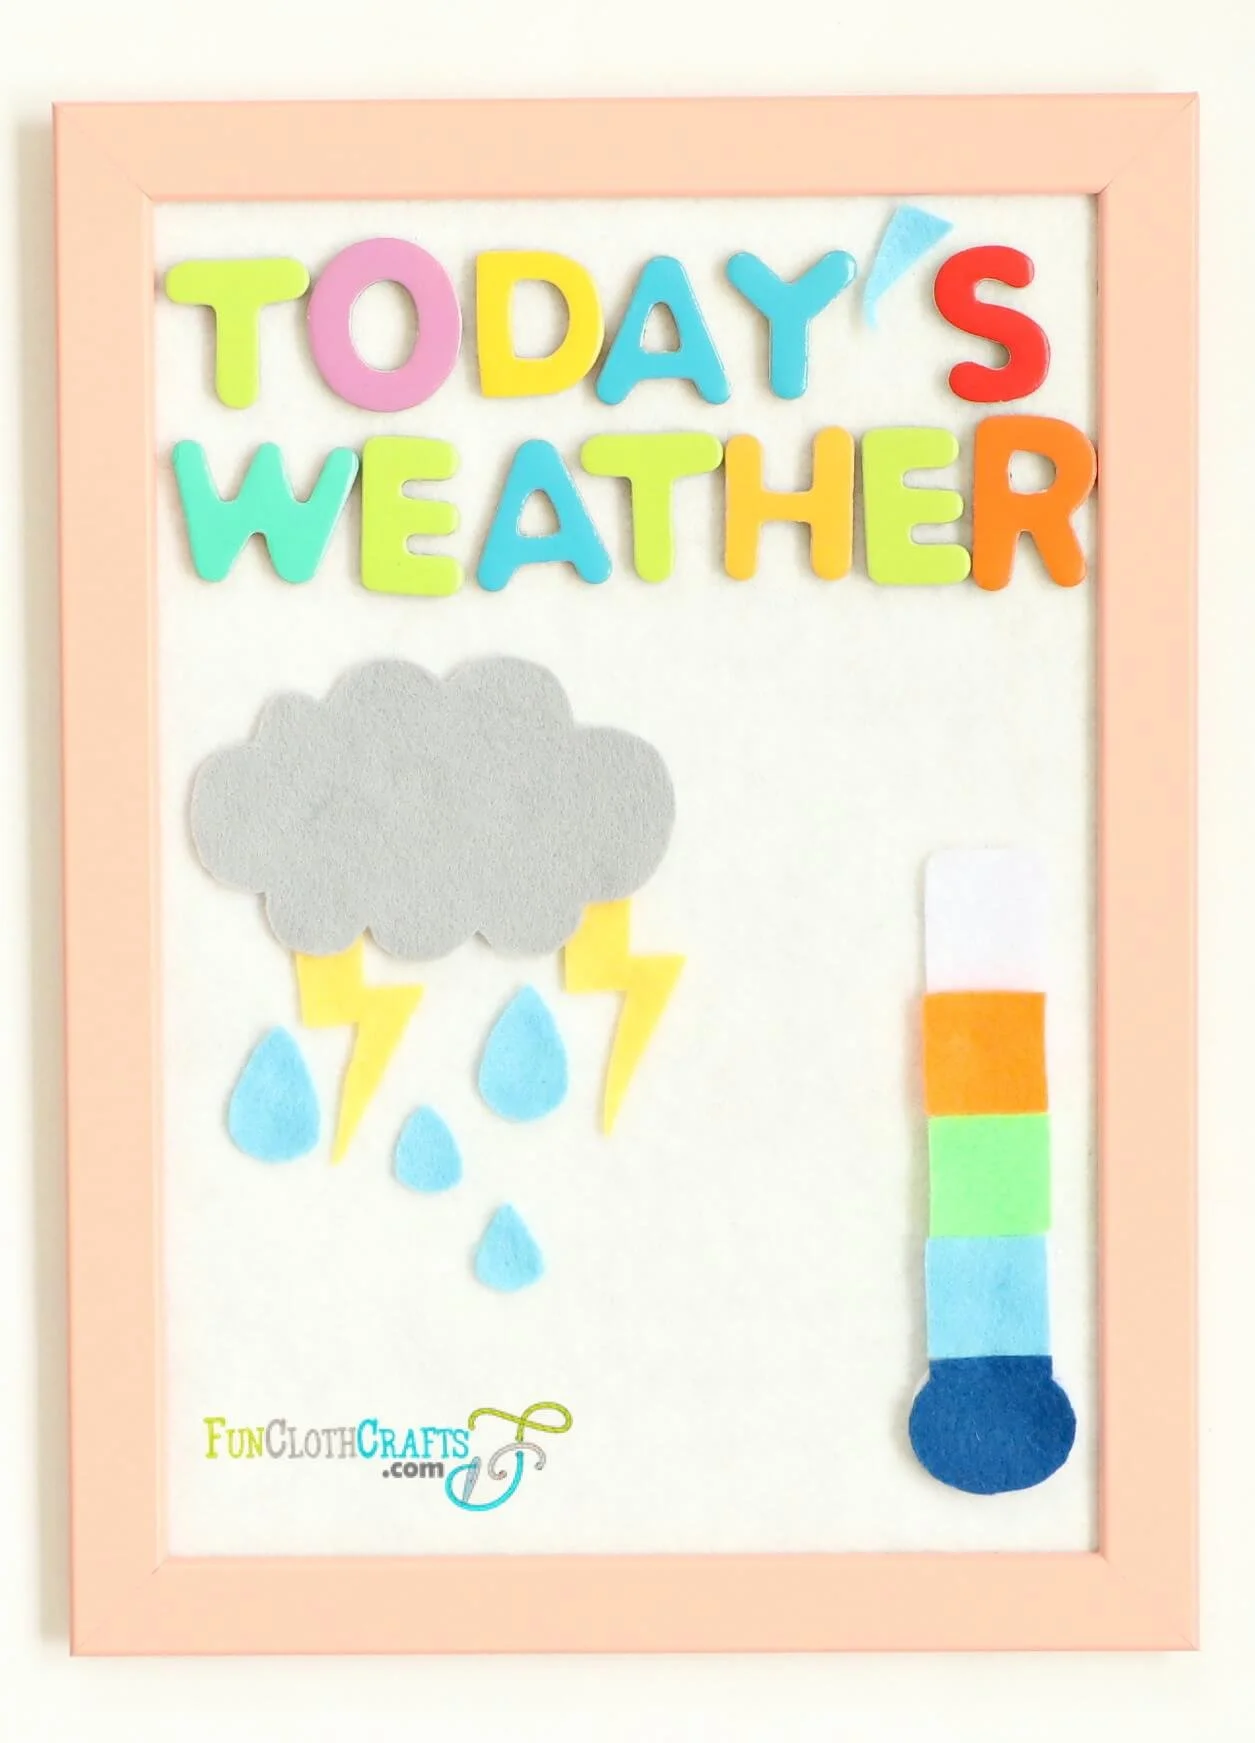
as the weather felt board to show today’s weather,
to practice weather vocabulary,
as a page in Quiet Book,
also to print and color in.
The felt weather set is great for home but can also be used by teachers in their classrooms or parents who homeschool their children. In my case, I find it also helpful for learning languages in a playful way. It benefits to keep my children’s vocabulary in all 4 languages we speak daily (English, Spanish, Czech, and German).
I hope you have fun creating these shapes with my free pattern.
Content Weather Felt Board
How to make the weather felt symbols
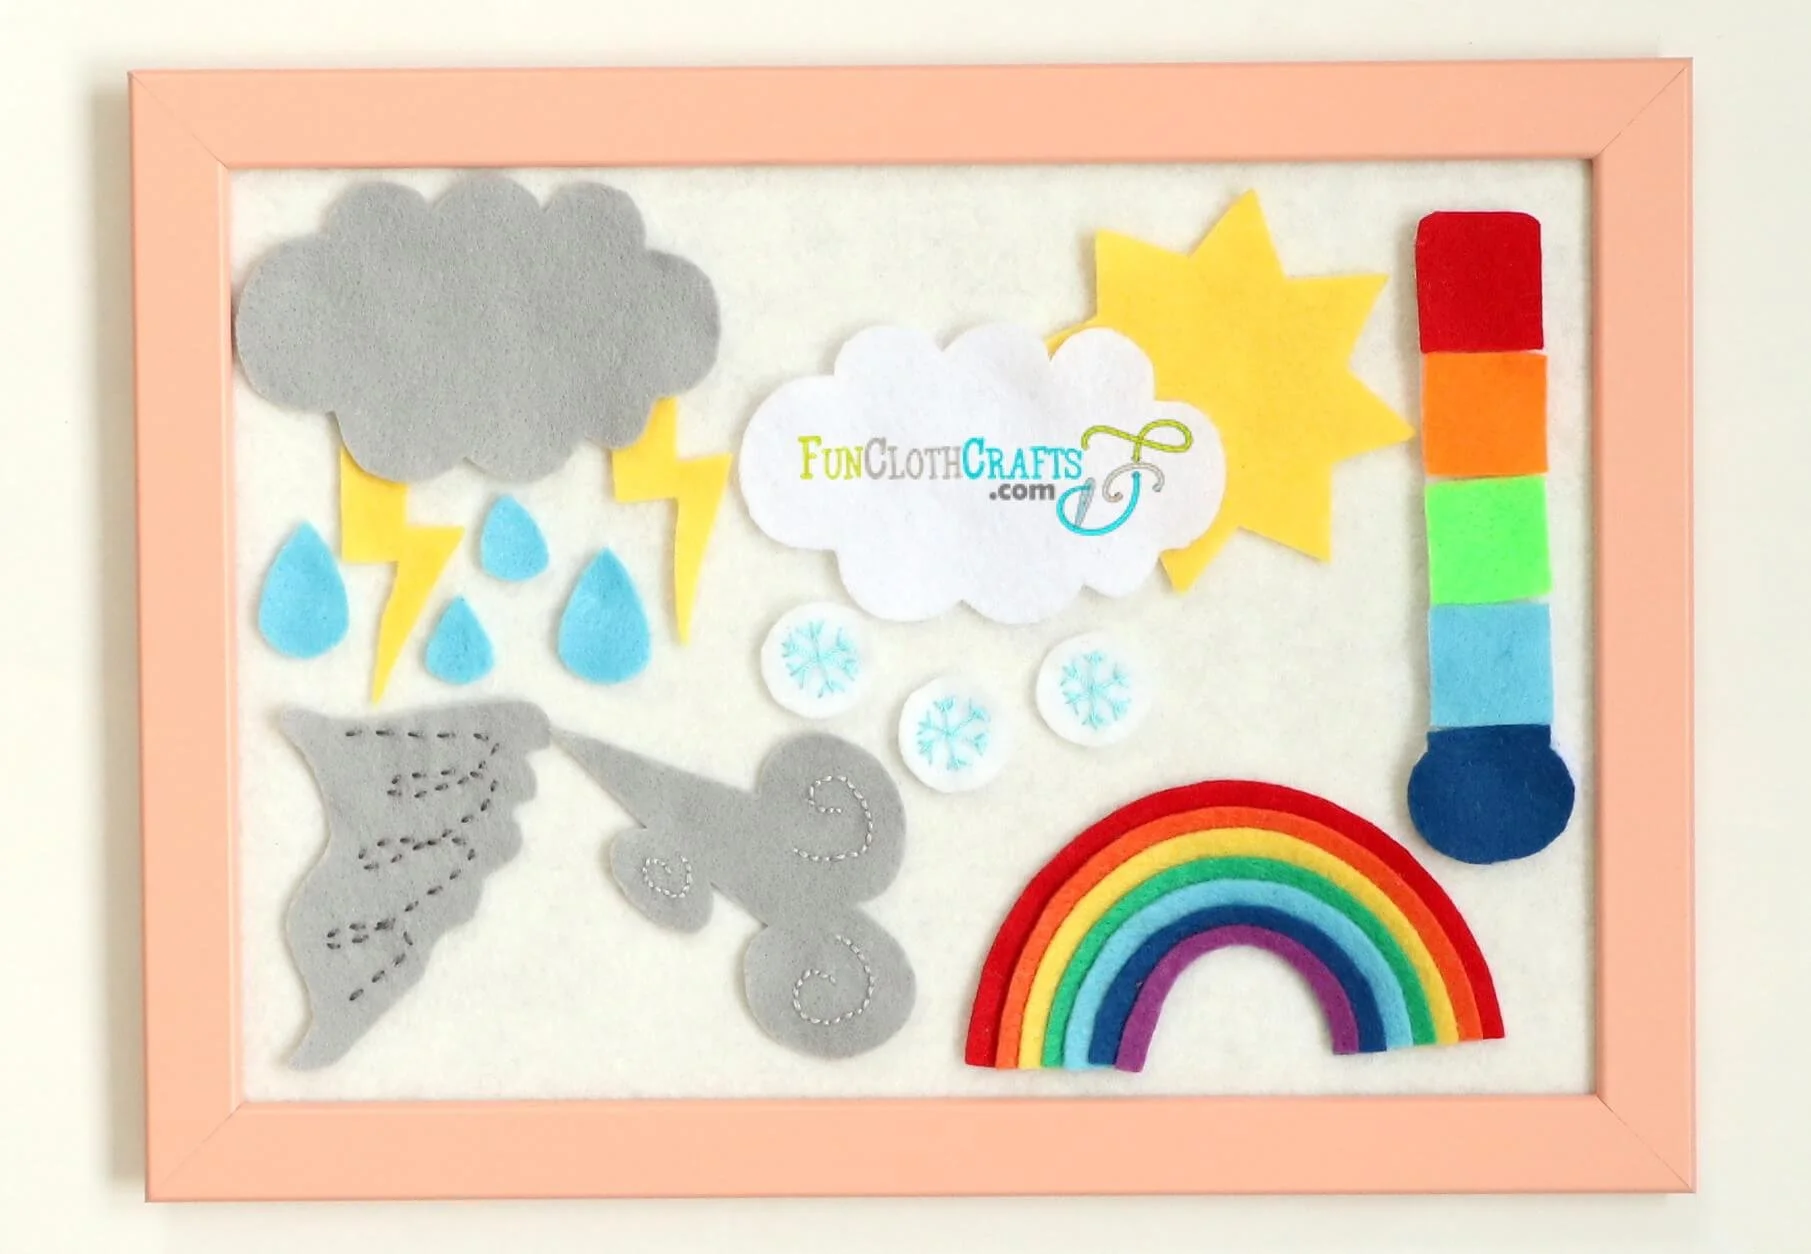
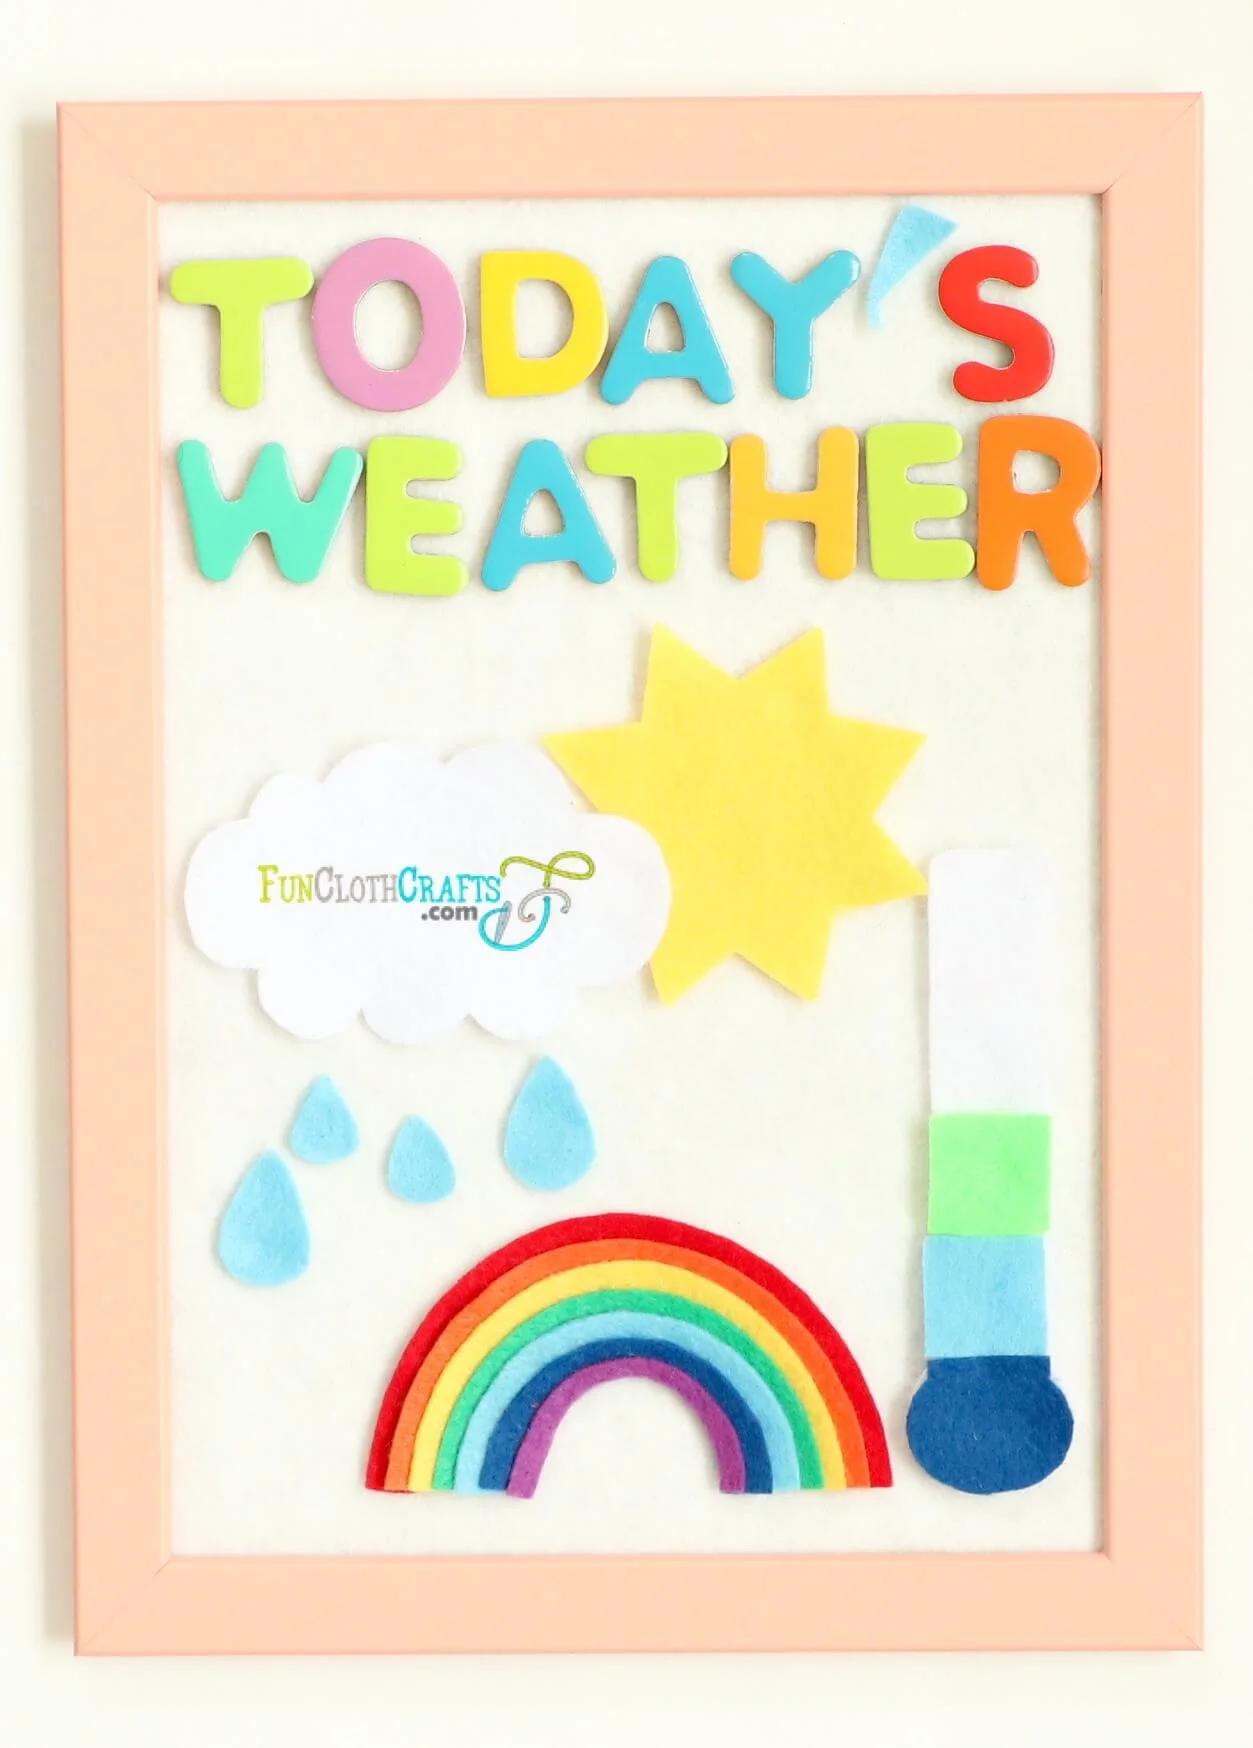
The free felt weather board template offers the following shapes: rainbow, tornado, lighting, raindrops, snowflakes, sun, cloud, thermometer, and wind.
There are 2 versions of the pattern for the rainbow. One is the entire rainbow, and the other one is separated by 2 colors. At first, I tried to cut the complete color pieces and stuck them on top of each other to create the rainbow. However, I found it excessively thick to have 7 felt pieces piled. Therefore, I tried another option, which is by overlapping one color only. I favor that second option.
What Do You Need to Make Felt Weather Shapes
Felt Weather Felt Board Free Template - to download the file, subscribe to the FunClothCrafts newsletter. In the newsletter, you find a password to the subscriber's Free Downloads Vault
Felt scraps (find great wool blend felt at Benzie Design or find more buying options in the Types of Felt section of the How to Sew Felt blog post): white, grey, red, orange, yellow, green, blue, indigo, and violet
Embroidery thread to match: grey, blue
Freezer paper (optional - check out my tutorial 6 Techniques on how to cut out felt to find your favorite felt cutting method)
Ikea Fiskbo frame (optional - if you would like to make a felt board with a frame)
Steps to make the weather felt symbols
Print the weather felt board free pattern which you find in the Free Downloads Vault. Subscribe to the FunClothCrafts newsletter and find a password to the subscriber's Free Downloads Vault.
Cut out the weather symbols from felt using your favorite technique for cutting out felt. Check my post on how to cut shapes from felt. I worked with freezer paper to make my cutting more precise. As for the cloud, I cut it in 2 colors, white and grey.
Your lighting, raindrops, sun, and cloud are ready to use.
Embroider the tornado, wind, and snowflakes. I used the running stitch for the tornado and the backstitch for the wind. If you seek more explanation on hand embroidery stitches, you can read my post 9 Hand Embroidery Stitches for Felt on that topic.
For the snowflake embroidery, I let myself be inspired by the tutorial from Wandering Threads Embroidery (unfortunately the page doesn’t exist anymore). I drew the basic shape with an air-erasable marker. Then, I embroider the shape with a straight stitch.
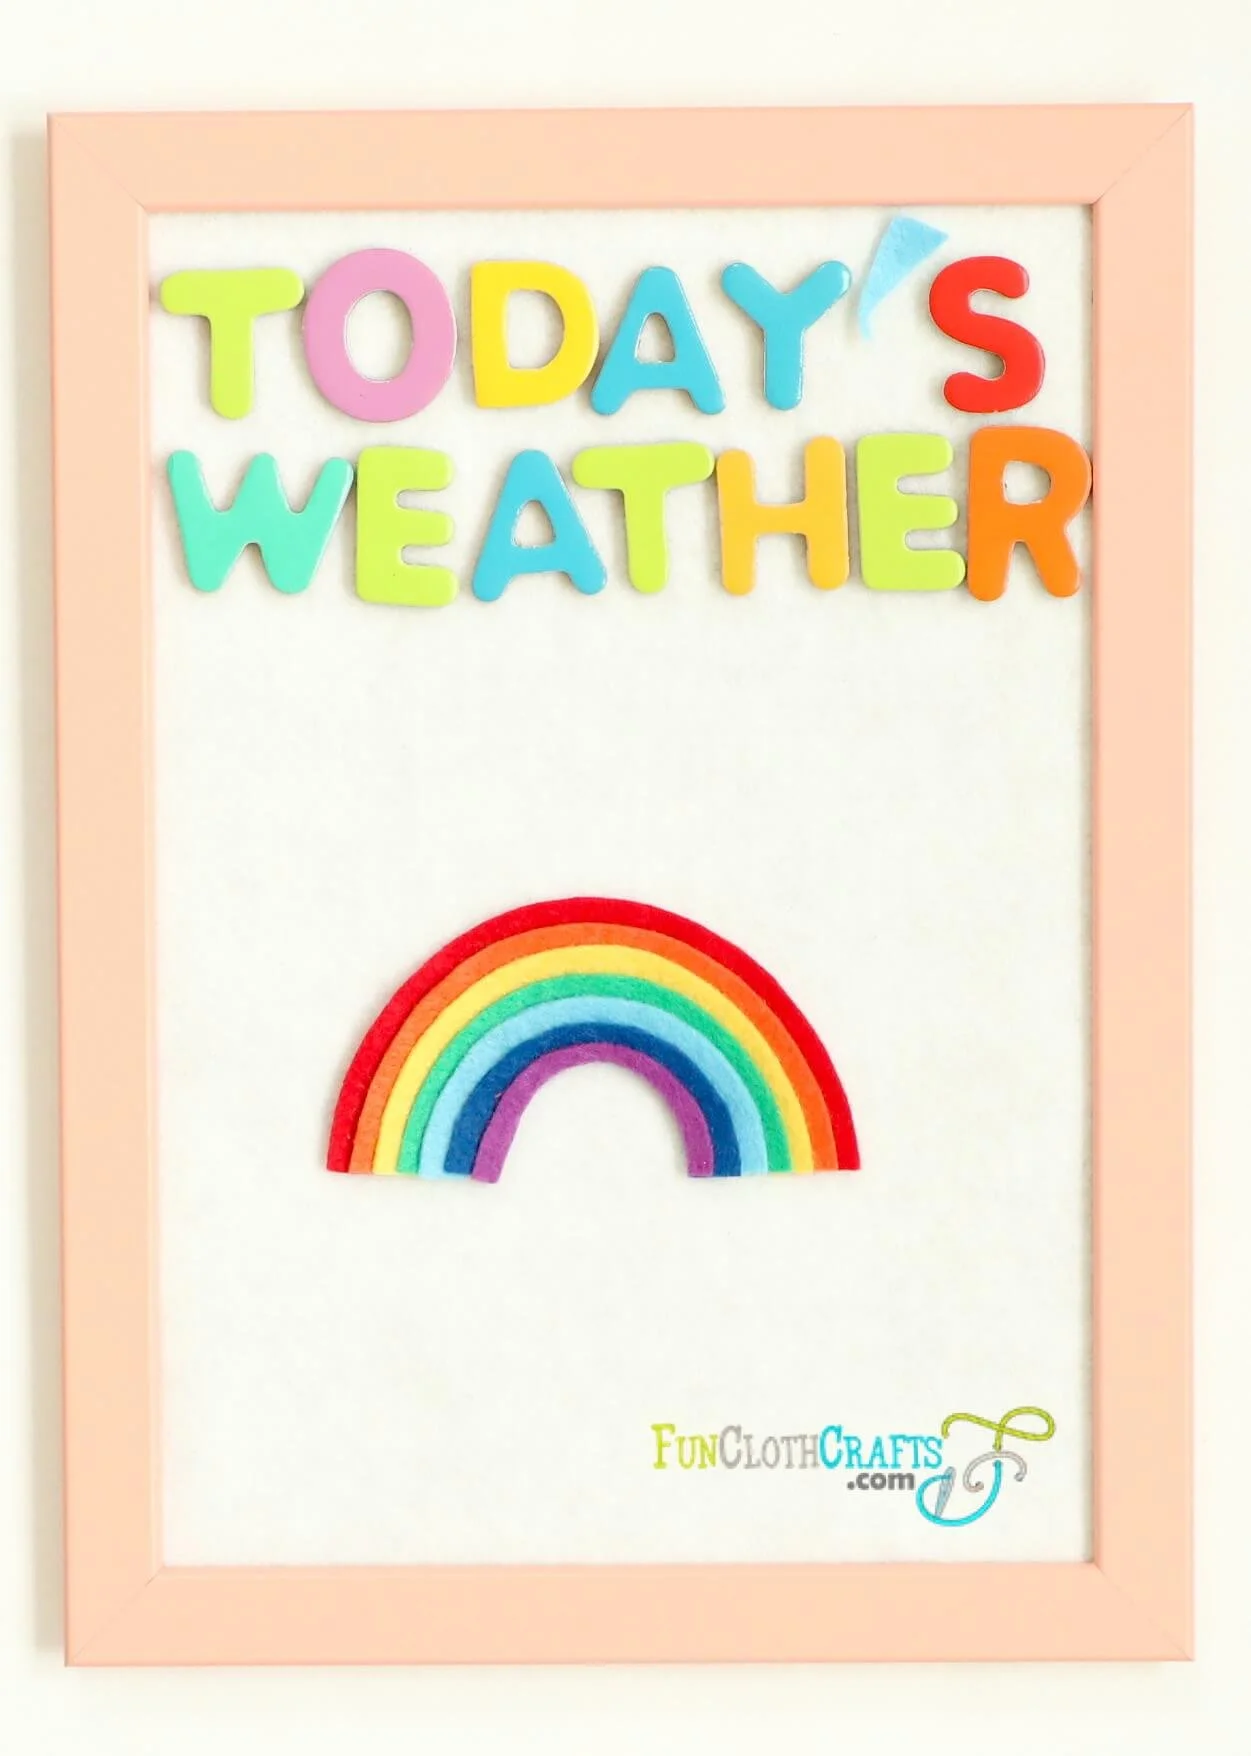
For the rainbow, I glued the different color shapes together. You can also embroider the individual shapes with the whip stitch to ensure that it holds well. The seven colors overlap each other; orange is glued onto red, covering half of the red shape. Then the yellow shape is glued onto the orange one, again covering half of the orange piece. And that way, you continue until the final violet color.
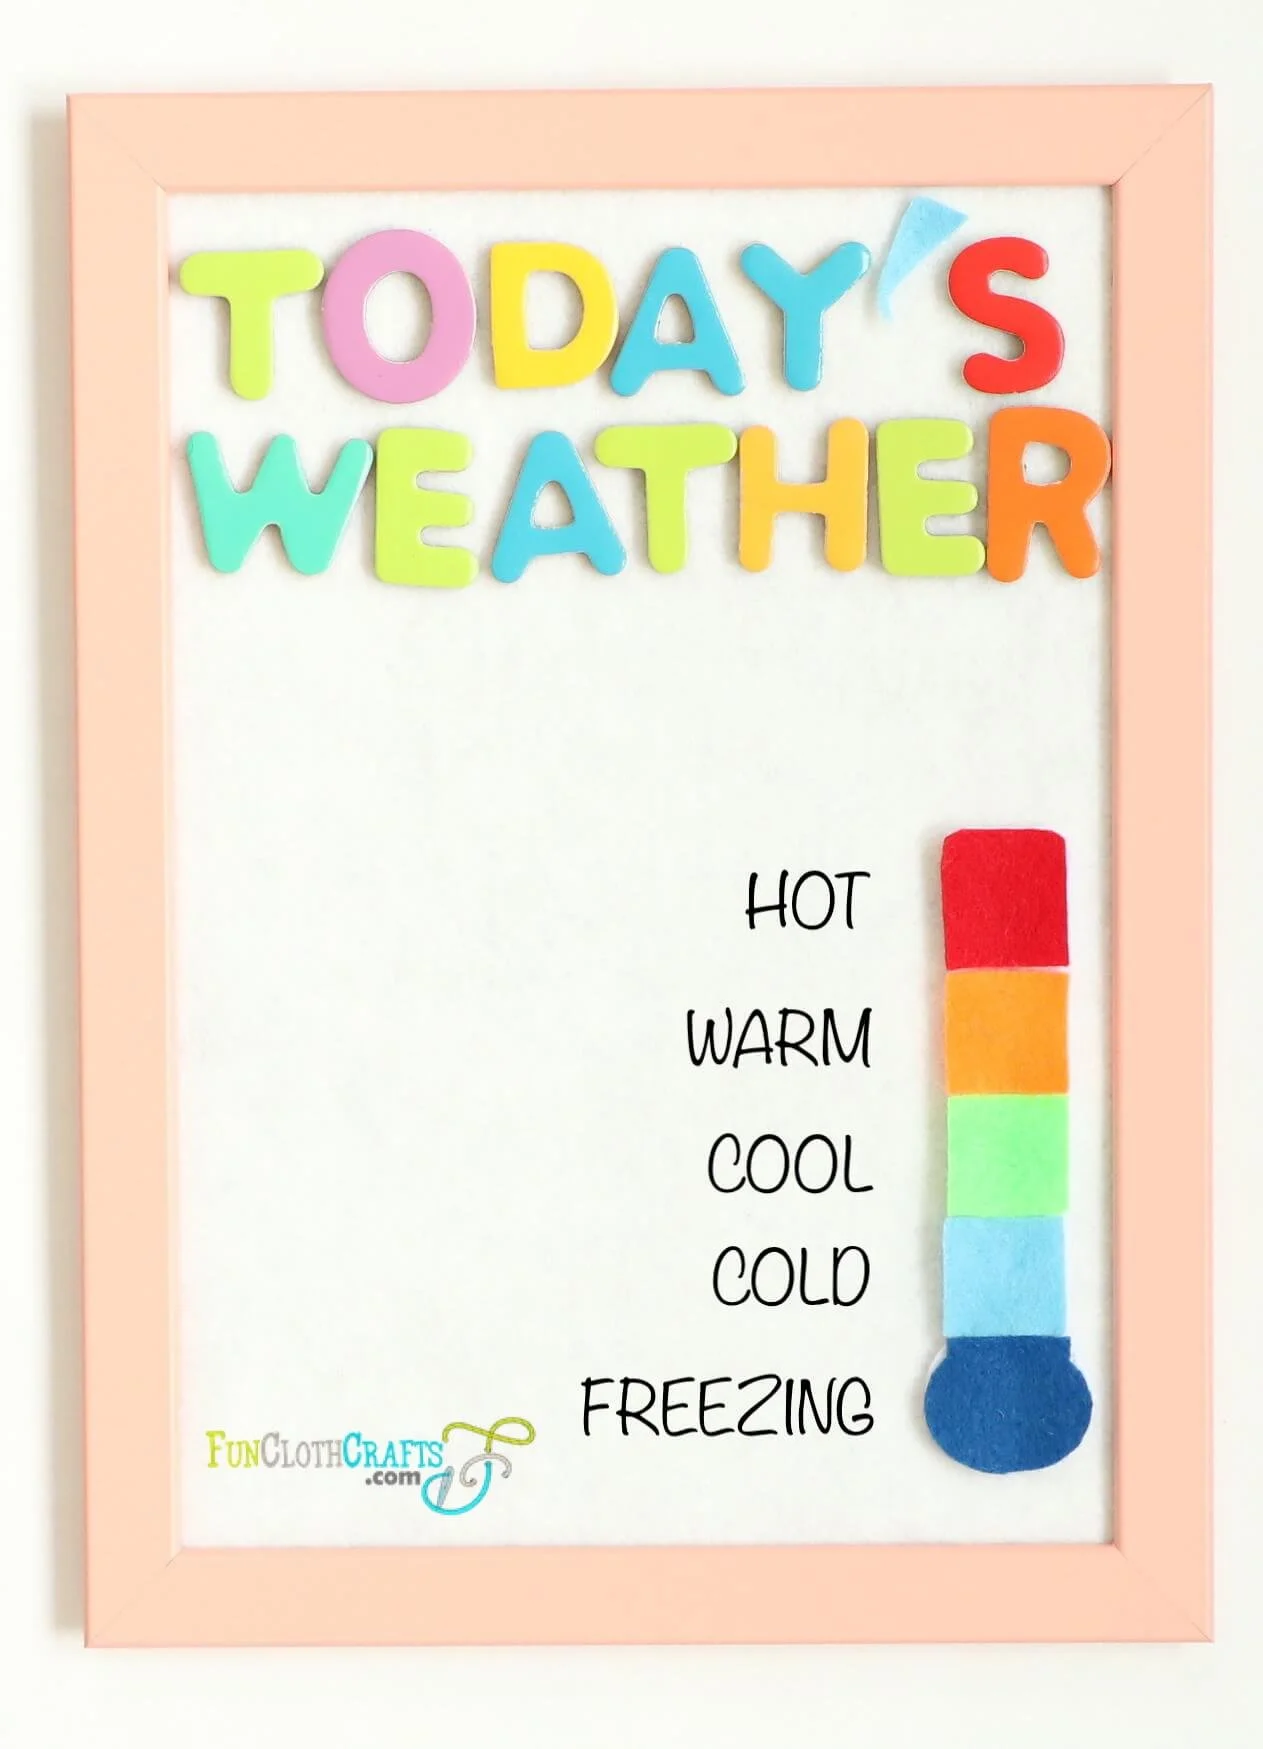
For the thermometer, I thought about two options for using it:
Gluing or hand sewing the individual colored shapes onto the thermometer and then using a mini craft clothespin to show the temperature.
Leaving the individual colored shapes loose and letting Lukas placing the right colors based on the current outside temperature.
How to play with the felt weather board?
I started this felt weather craft idea as a way to show “What’s the weather today?” to support my son’s first-grade learning. As I was creating the set I realized other options of playing with the felt weather board: learning weather vocabulary, making a weather quiet book page in you busy book, and simply cutting the shapes out and coloring them in as a child’s activity.
What's the weather today?
This activity requires asking your children about today’s weather. Encourage them to go and see outside the window. Especially at the beginning, you can ask questions to help your child. Here are some examples: Is it cloudy? Is it warm? Or is the sun out there? As they get more familiar with the words, they will be able to talk about the weather themselves.
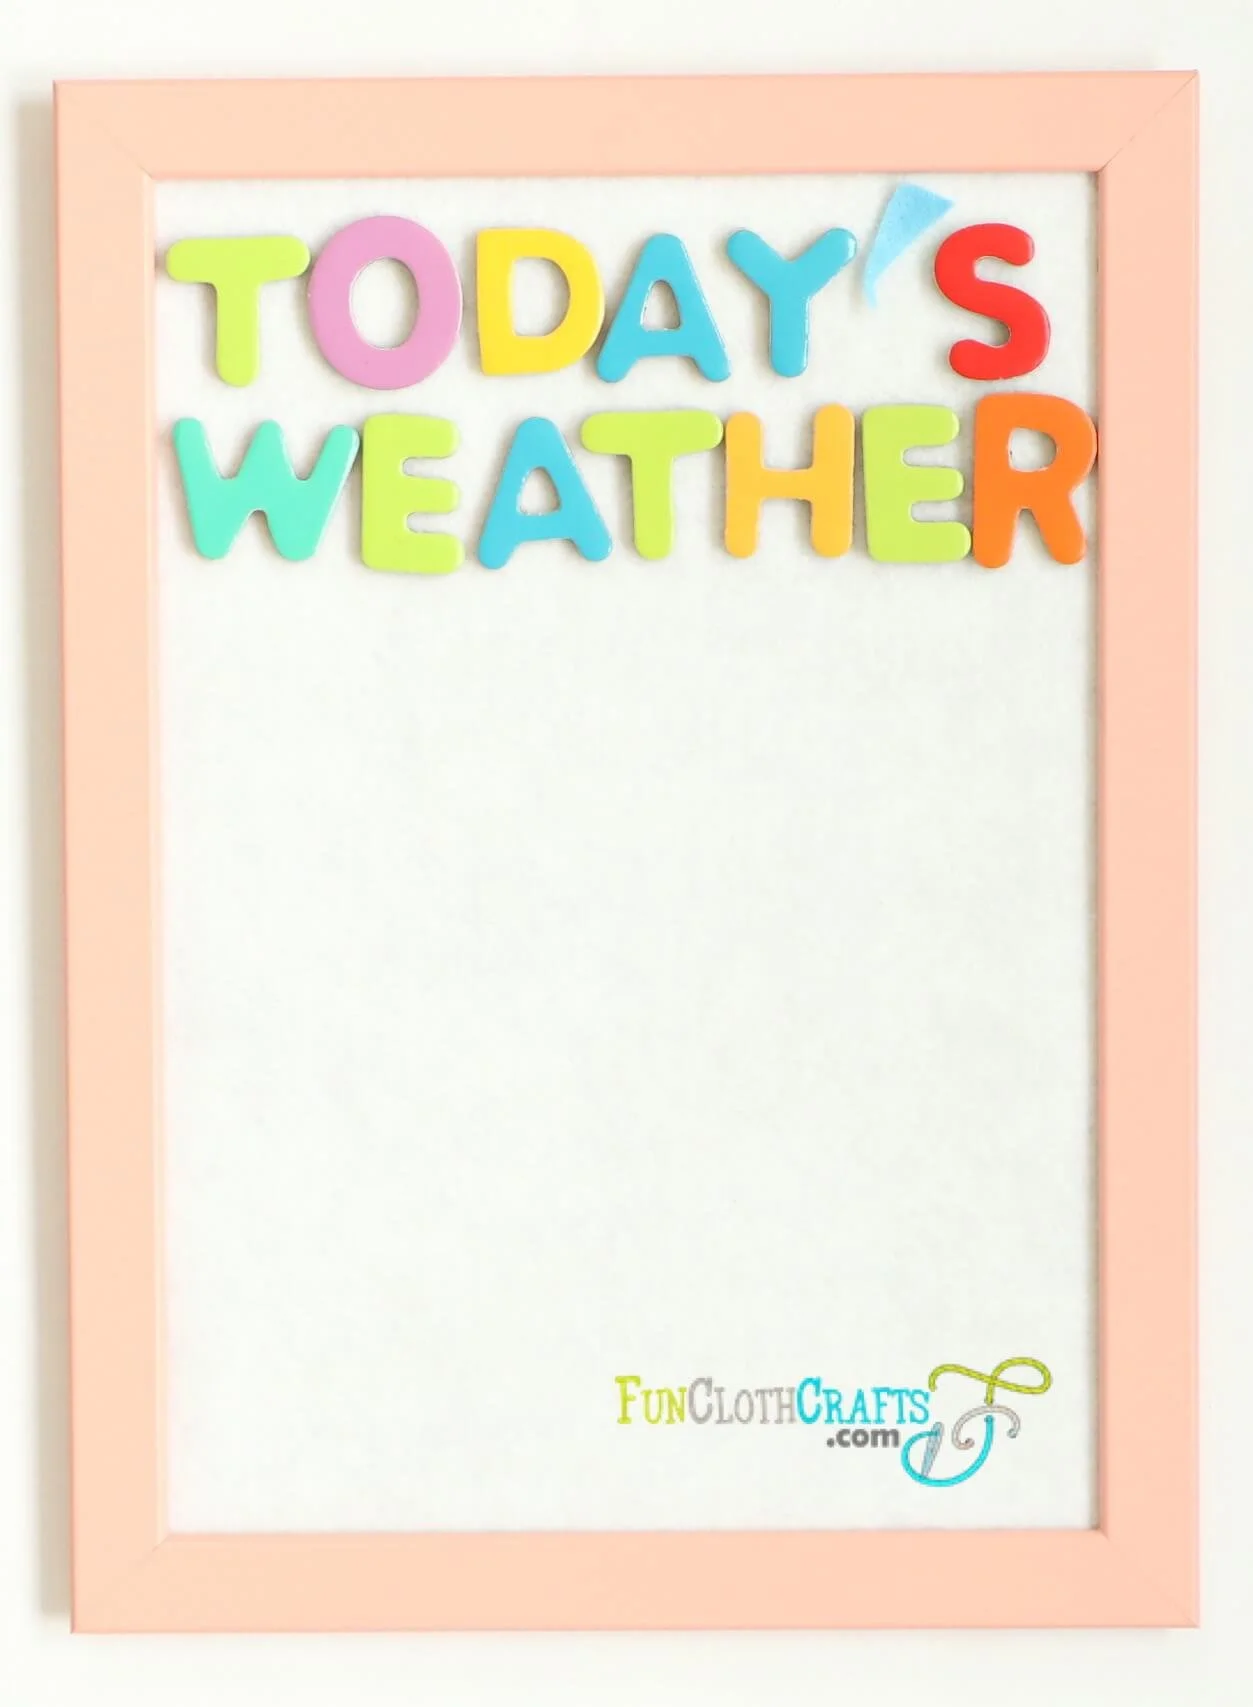
You can display the chosen weather shapes on a paper. You can write today’s weather in the heading. In my pictures, I used magnetic letters from DJECO. Of course, writing the sign with a marker is an option as well.
What’s the weather today?
Felt board display for the felt weather symbols
Another way to display the weather is by using the felt board. You can grab your felt board if you have one. If you don’t have one, you can make one. Learn how to make a felt board in a couple of simple steps in my post.
In summary, you cut cardboard in the desired size. Then, glue a piece of felt (slightly larger than your board) on the board. Finally, fold the extra felt over the edge and glue it to the back.
Felt board with IKEA FISKBO picture frame
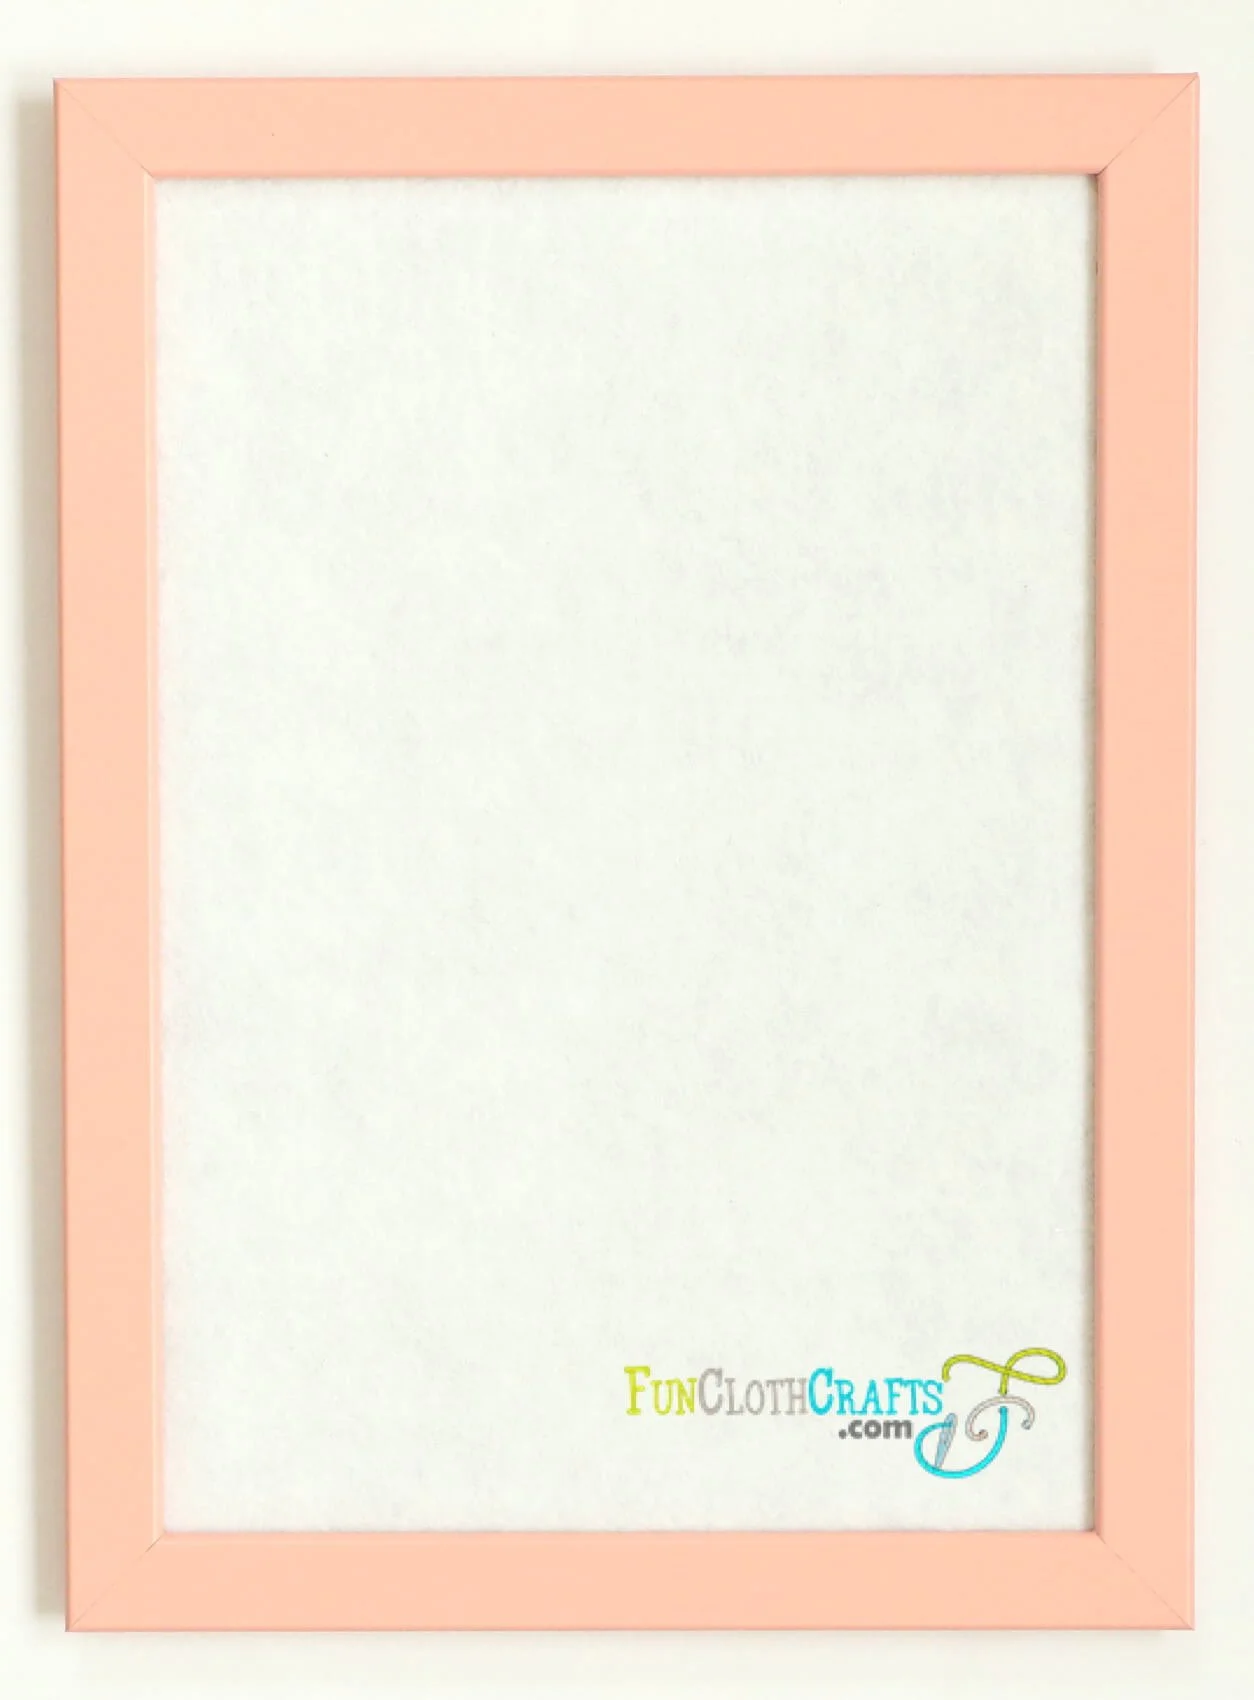
I think the felt board looks nice when framed. I tried it with the IKEA FISKBO picture frame (size 21cm x 30cm). The frame comes with cardboard already. I stretched a bit larger white felt pieces across the cardboard and placed it in the frame leaving the transparent plastic out. I was pleased with the result. The felt board you see in my photos is made with an IKEA FISKBO picture frame.
These shapes can also become part of the preschool felt board calendar. If you like to hang them on the board, you should make the pieces double-layered using Velcro from below.
Practicing weather vocabulary
Playing with the felt weather symbols and asking my children, “What’s this?” in Czech. I realized how great this could be to practice weather vocabulary in any language. For me, learning vocabulary in a playful way is important as my children speak 4 languages (English, Spanish, Czech, German) daily. I noticed that in the languages not used at school, it is more challenging for them to acquire new words related to a topic (weather, days of the week, colors, etc.). I hope using these colorful visual felt pieces can also support your child in his/her language development.
The English weather words we learn are:
Sun - Sunny
Cloud - Cloudy
Partly cloudy
Rain - Rainy
Wind - Windy
Storm - Stormy
Snow - Snowy
Sleet - Sleeting
Lighting
Rainbow
Tornado
Temperature:
Hot
Warm
Cool
Cold
Freezing
The rainbow pattern is perfect for color learning. The 7 rainbow colors are red, orange, yellow, green, blue, indigo, and violet.
Rainbow is excellent for color learning
Page in a Quiet Book
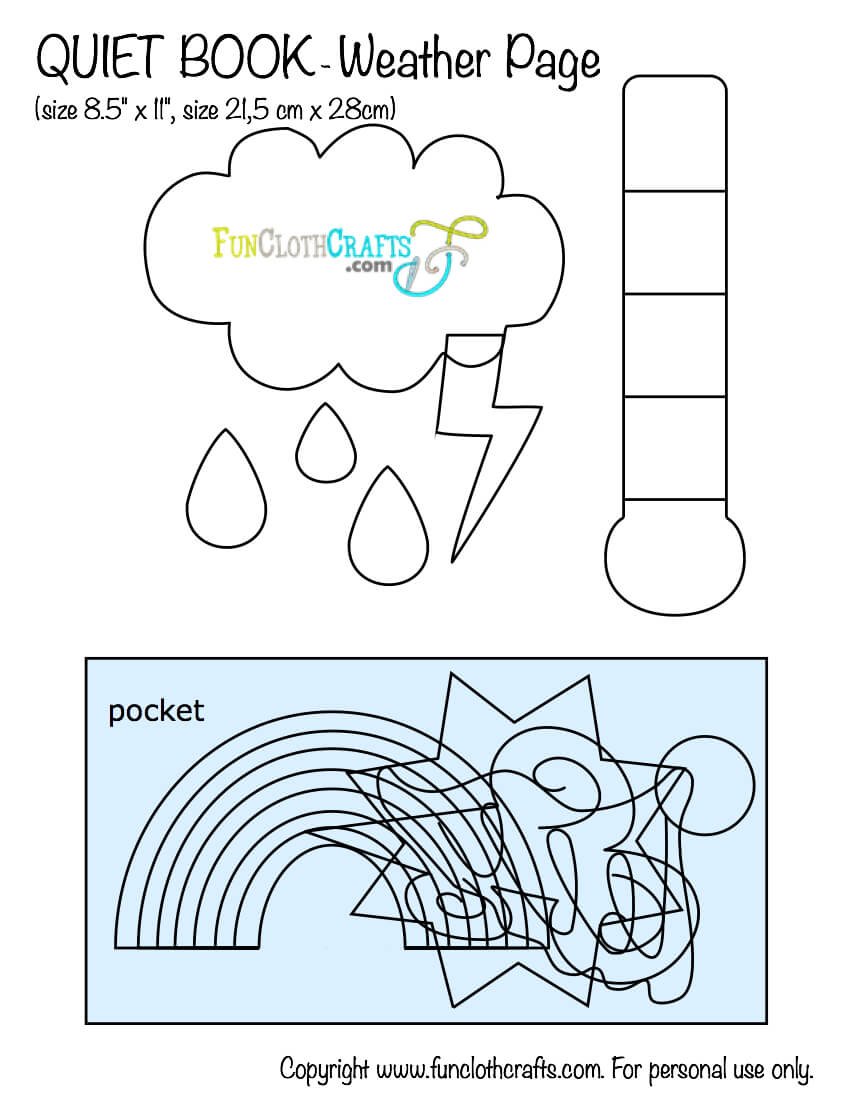
I think this template can perfectly be used in Quiet Books. I created an example of a Quiet Book Weather Page. It is size 8.5” x 11” (20,5 cm x 29 cm). You could also adjust the template size if your quiet book page is smaller.
Depending on the intended usage, you could attach laces to the shapes. One end is sewed to the shape, and the other one to the quiet book page. This makes sure that the felt pieces don’t get lost.
You can also make the shapes double-layered and attach VELCRO to the back of the shape. Then you sew the other Velcro part to the page. Using loop fabric is also an option. This way, you don’t need the VELCRO on the page as the fabric has the function of holding the VELCRO hook.
Print, color and cut
You can use this pattern for easy DIY weather paper craft. You print the weather felt board template on paper and let your child color it and cut it out. Then, you can play with the cutouts.
Other Felt Board Patterns
Conclusion Weather Felt Board
Let’s be creative with these felt weather symbols. They provide so many options to learn with ease. I believe the appropriate age group for this felt craft is 4-8 years. Initially, it was created for my six years old learning about the weather at school. This easy weather felt board is excellent for the weather learning activity, a Quiet Book weather page, and for coloring in and cutting out.
Thank you for reading! What are your thoughts? Let me know if you find this article useful, and share your tips!
If you find this post useful, please take a moment and share it on social media.
Feel free to join my mailing list! You’ll receive updates on new patterns, the latest tips & tricks, and special promotions.
Let’s learn and craft together!
XO, Anna





![How Do You Make an Easy Felt Board (Flannel Board)? [Tutorial]](https://images.squarespace-cdn.com/content/v1/5f68de73f977627048ed931f/1688382493224-O20UKHLW9EJAG4VJRKOJ/How+do+you+make+a+felt+board+%7C+DIY+Felt+Board+with+blue+and+white+frame+%7C+DIY+felt+board+with+blue+felt+and+sign+Fun+Cloth+Crafts+%7C+Thumbnail.jpeg)
![DIY Felt Shape Activity for Toddlers [Free Pattern]](https://images.squarespace-cdn.com/content/v1/5f68de73f977627048ed931f/1686931316694-DXLCG1EZRX2SM0CO2KWR/DIY+Felt+Shapes+Activity+for+Toddlers+%7C+Creative+Play+with+Felt+Shapes+%7C+Felt+Shape+Activity+Games+%7C+Christmas+tree%2C+pizza%2C+flower%2C+tree+%7C+Thumbnail.jpeg)

